Windows
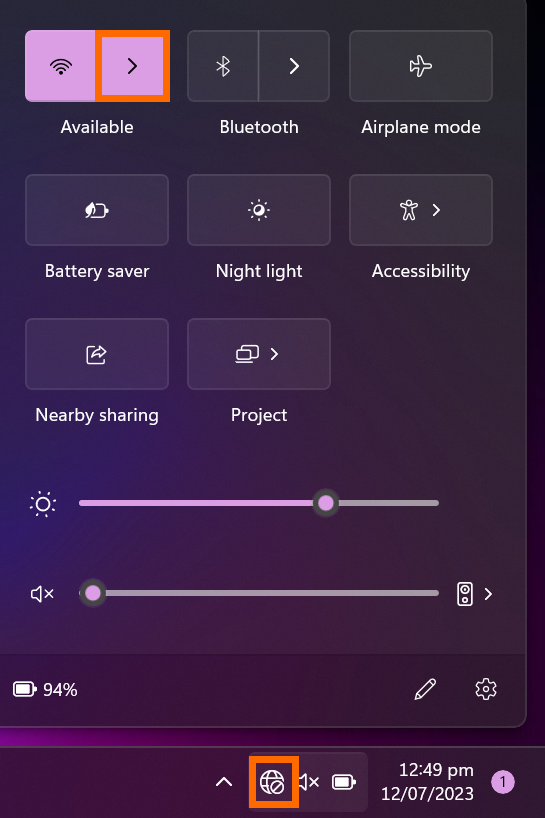
1. From the desktop, select the Network icon on the taskbar and click the button next to the wireless icon.
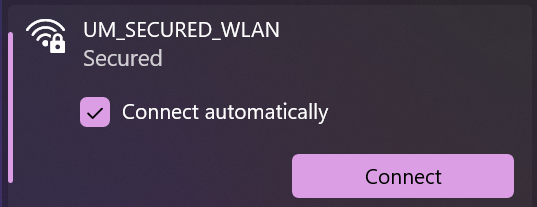
2. Select UM_SECURED_WLAN, then click on the Connect button.
Check the Connect automatically option if you want to autoconnect.
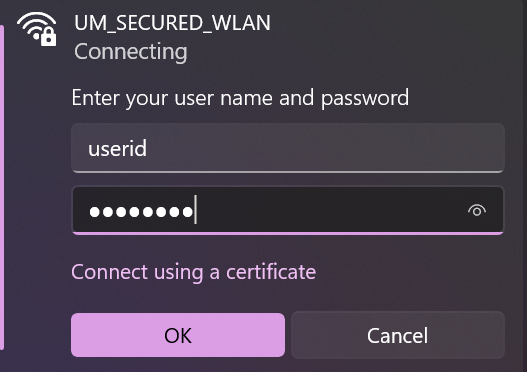
3. When prompted, enter your UMPASS User ID and password.
If you are student, your user name contains only the first seven characters of your student ID, e.g. “ab12345”.
4. Click Connect to continue with authentication.
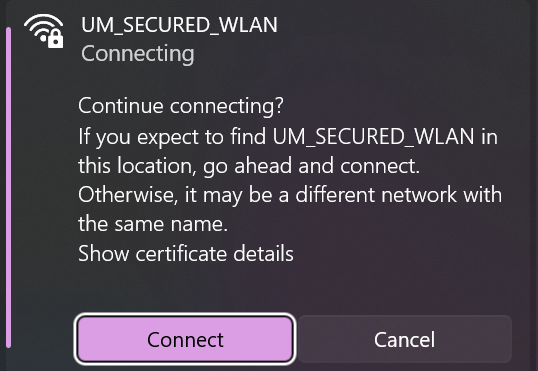
1. From the desktop, select the Network icon on the taskbar. Select UM_SECURED_WLAN, then click on the Connect button.
Check the Connect automatically option if you want to autoconnect.
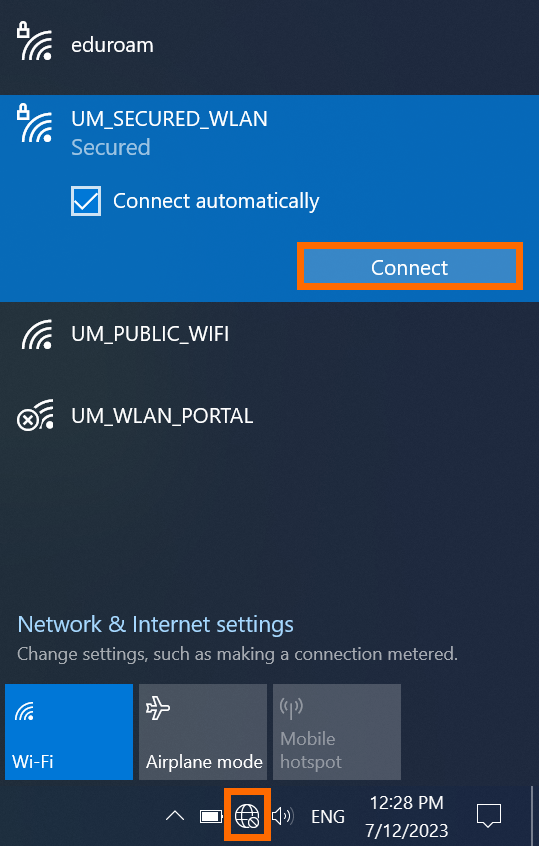
2. When prompted, enter your UMPASS User ID and password.
If you are student, your user name contains only the first seven characters of your student ID, e.g. “ab12345”.
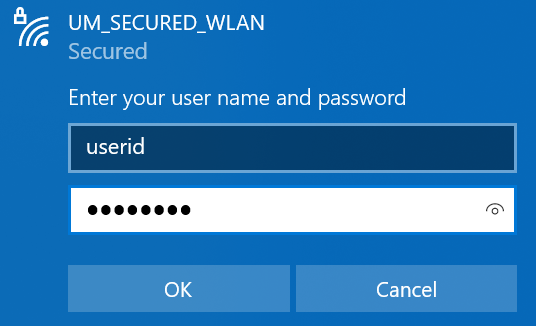
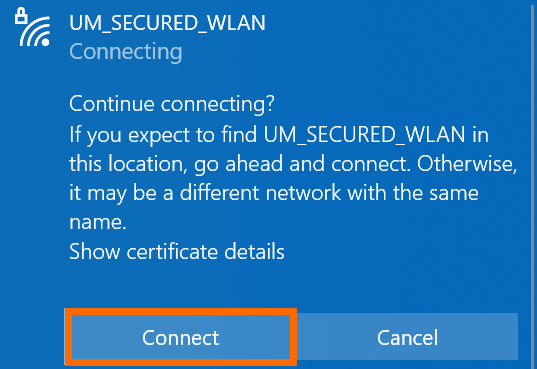
3. Click Connect to continue with authentication.
macOS
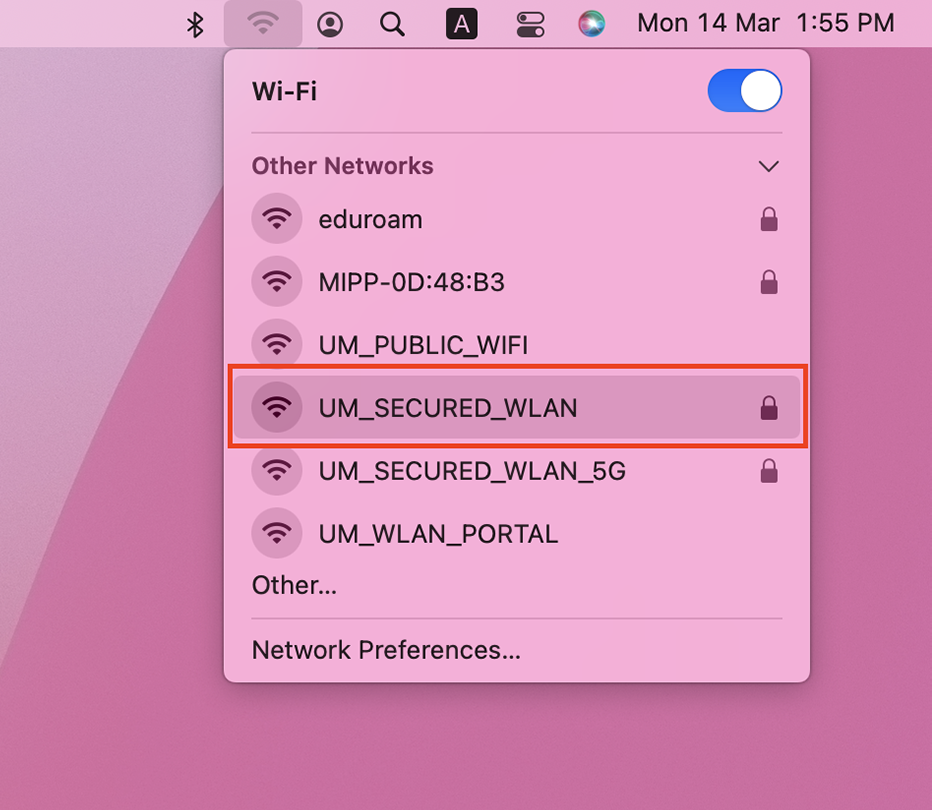
1. On your Mac, click the Wi-Fi icon in the menu bar and then select UM_SECURED_WLAN.
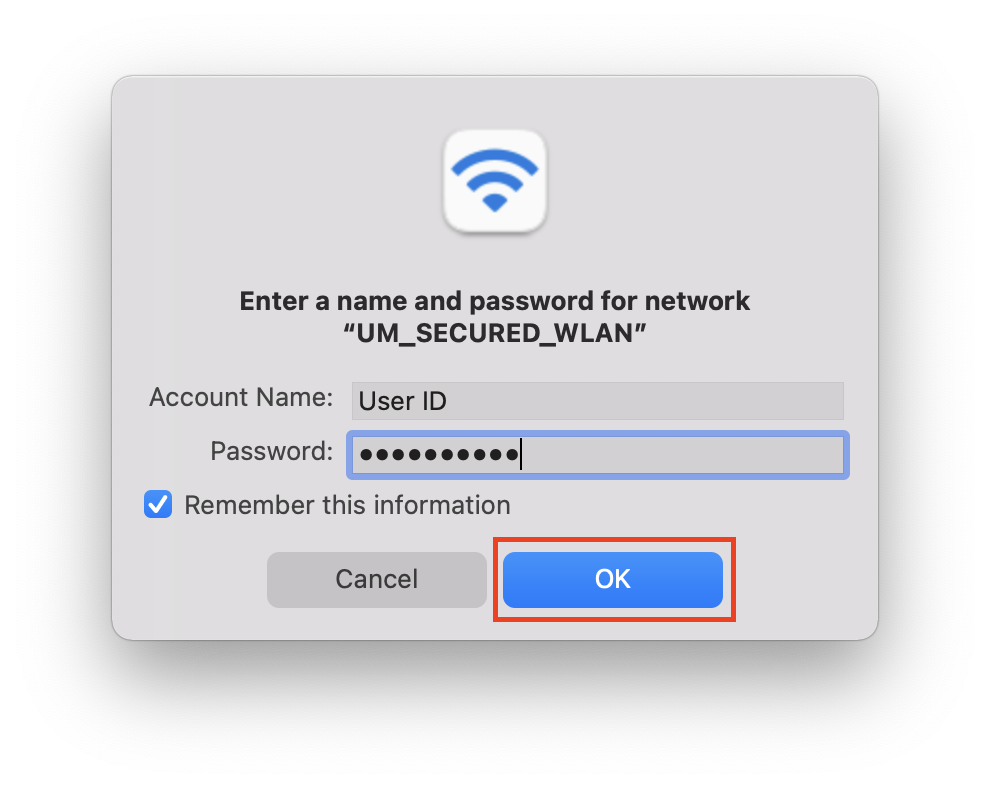
2. Enter your UMPASS User ID and password. Click OK.
If you are student, your UMPASS User ID contains only the first seven characters of your student ID, e.g.“ab12345”.
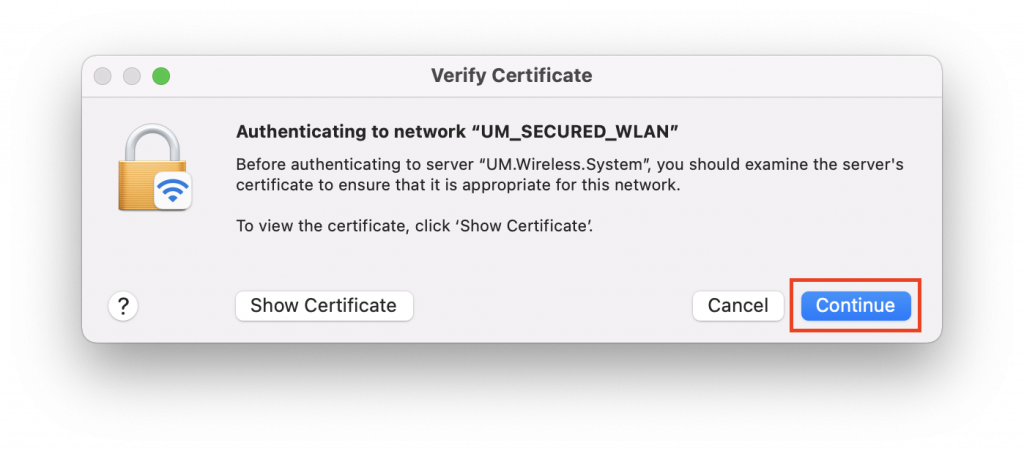
3. If you are prompted to accept a certificate installation, select Continue to connect to UM_SECURED_WLAN.
ios
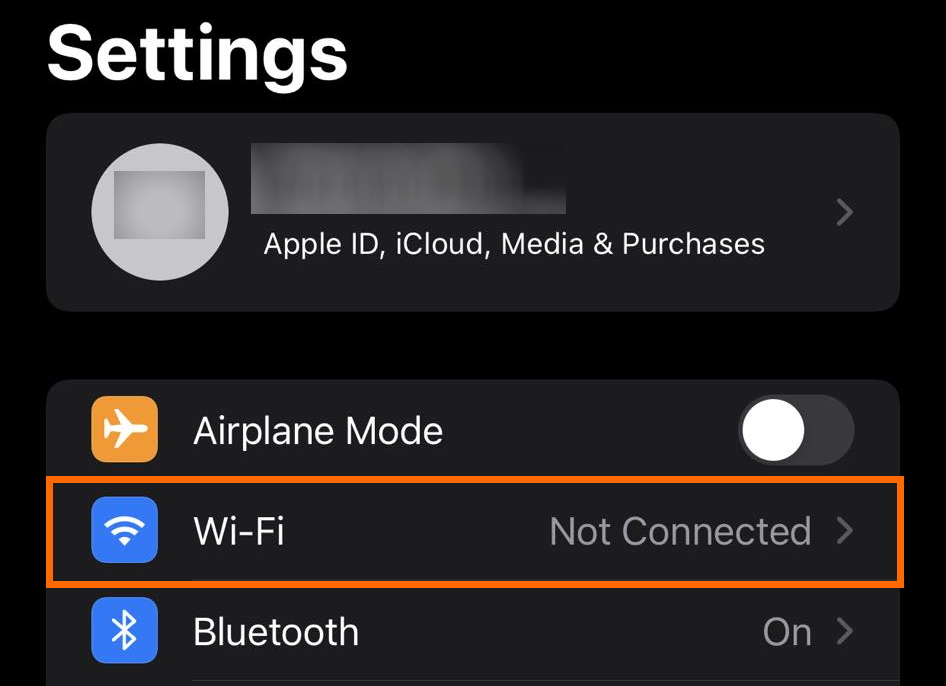
1. Open Settings.

2. Tap Wi-Fi option to open the Wireless Network Menu.
3. Turn Wi-Fi on if necessary and tap to select UM_SECURED_WLAN.
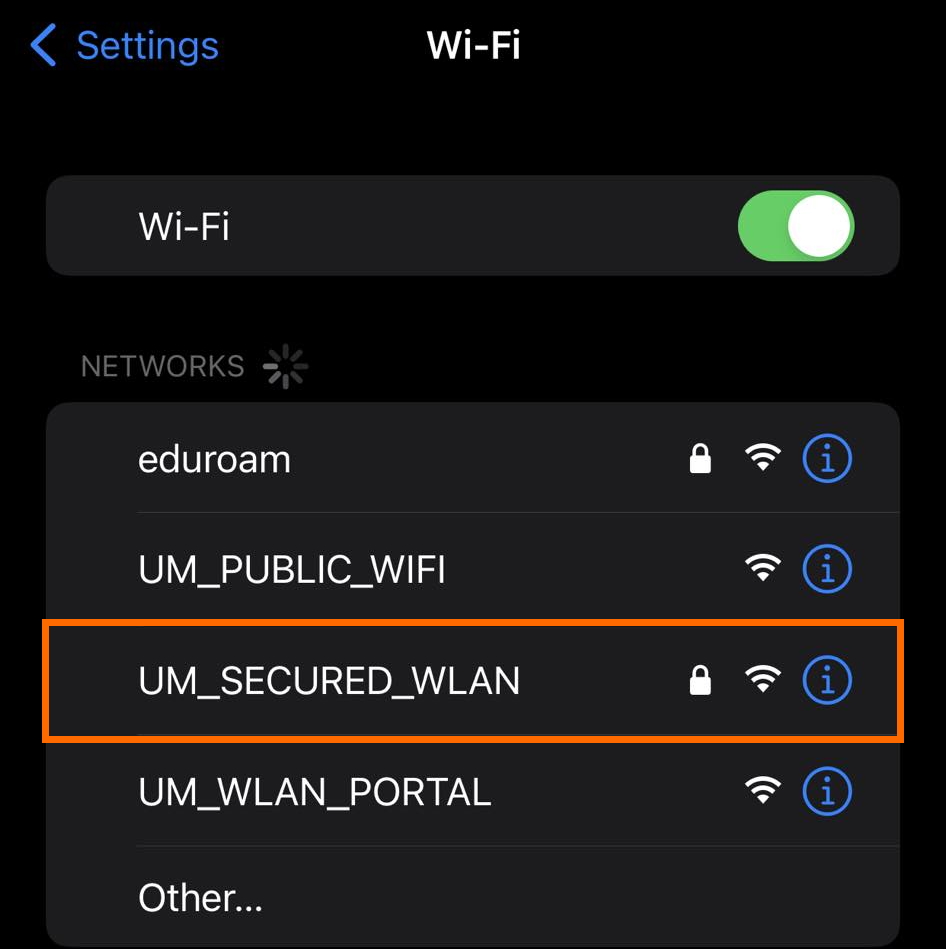
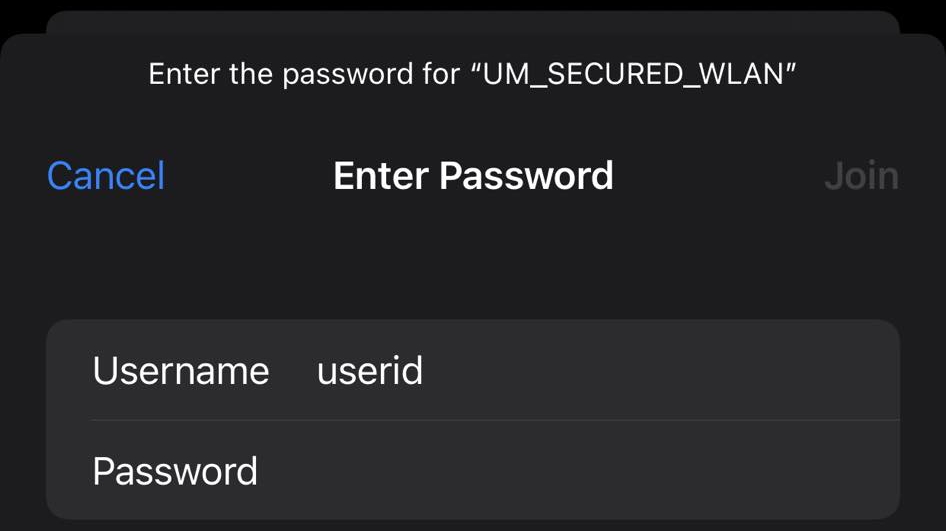
4. Enter your UMPASS User ID and password. Click Join.
If you are student, your UMPASS User ID contains only the first seven characters of your student ID, e.g.“ab12345”.
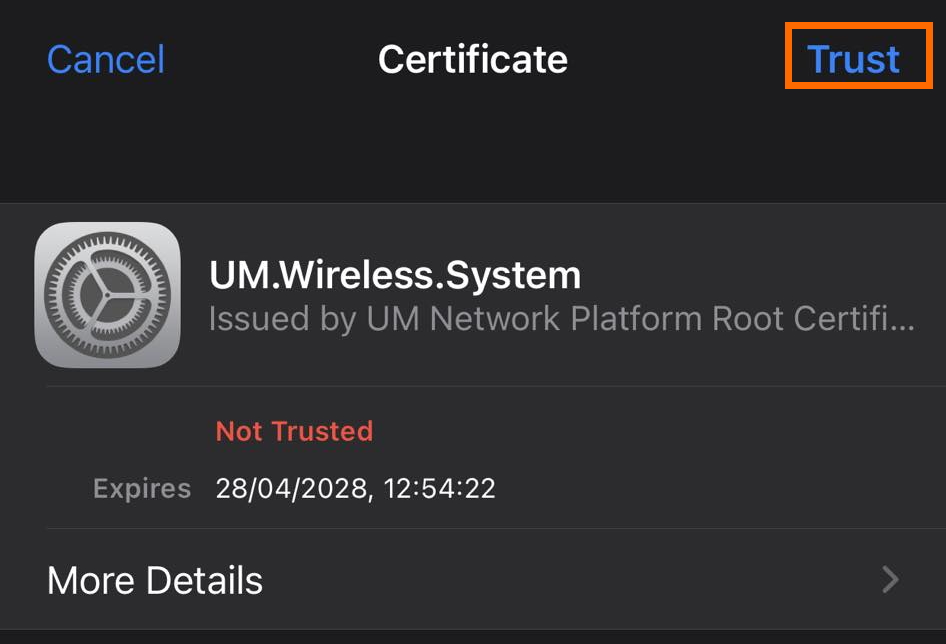
5. You may be prompted to accept a security certificate. If so, click Trust.
android
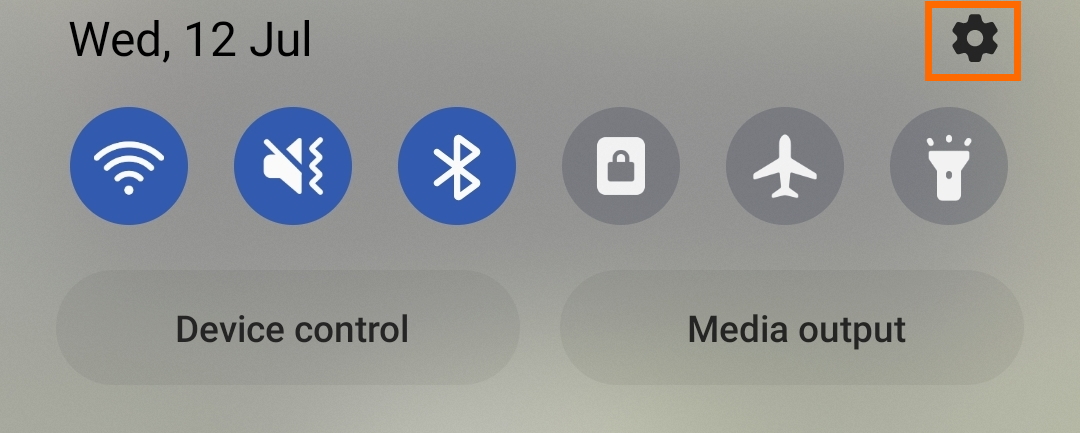
1. Swipe down from the top of the screen to go into Settings.
2. Tap Connections.

3. Tap Wi-Fi.

4. Select UM_SECURED_WLAN in the list of available networks.
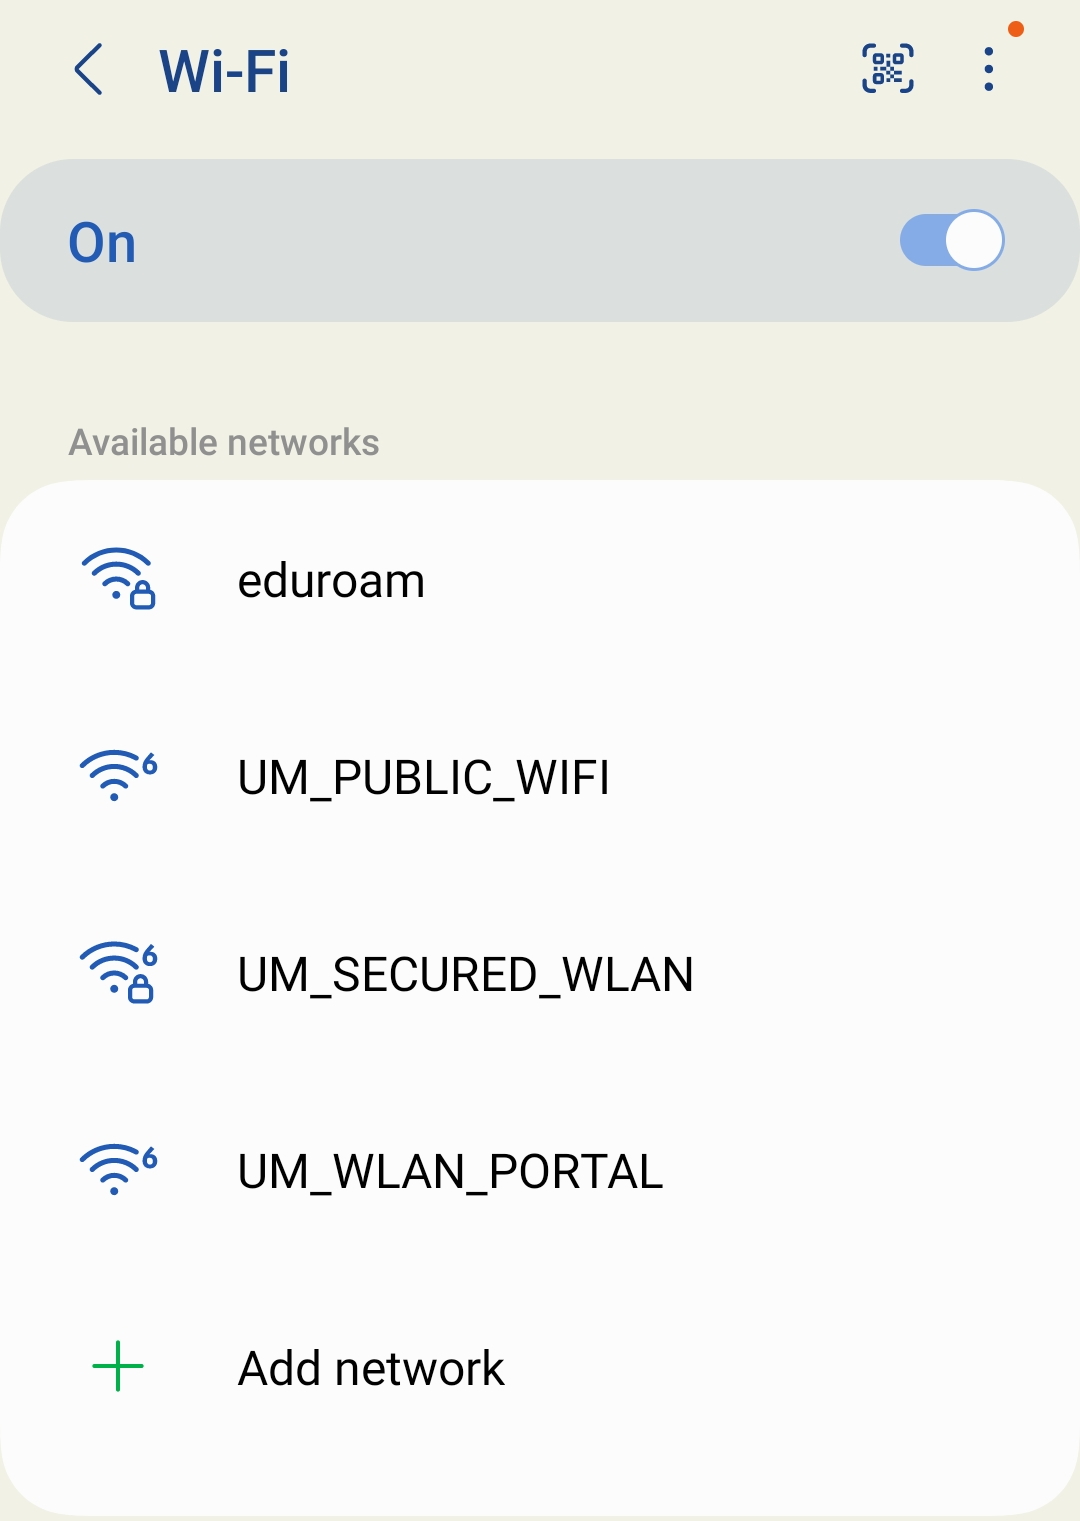
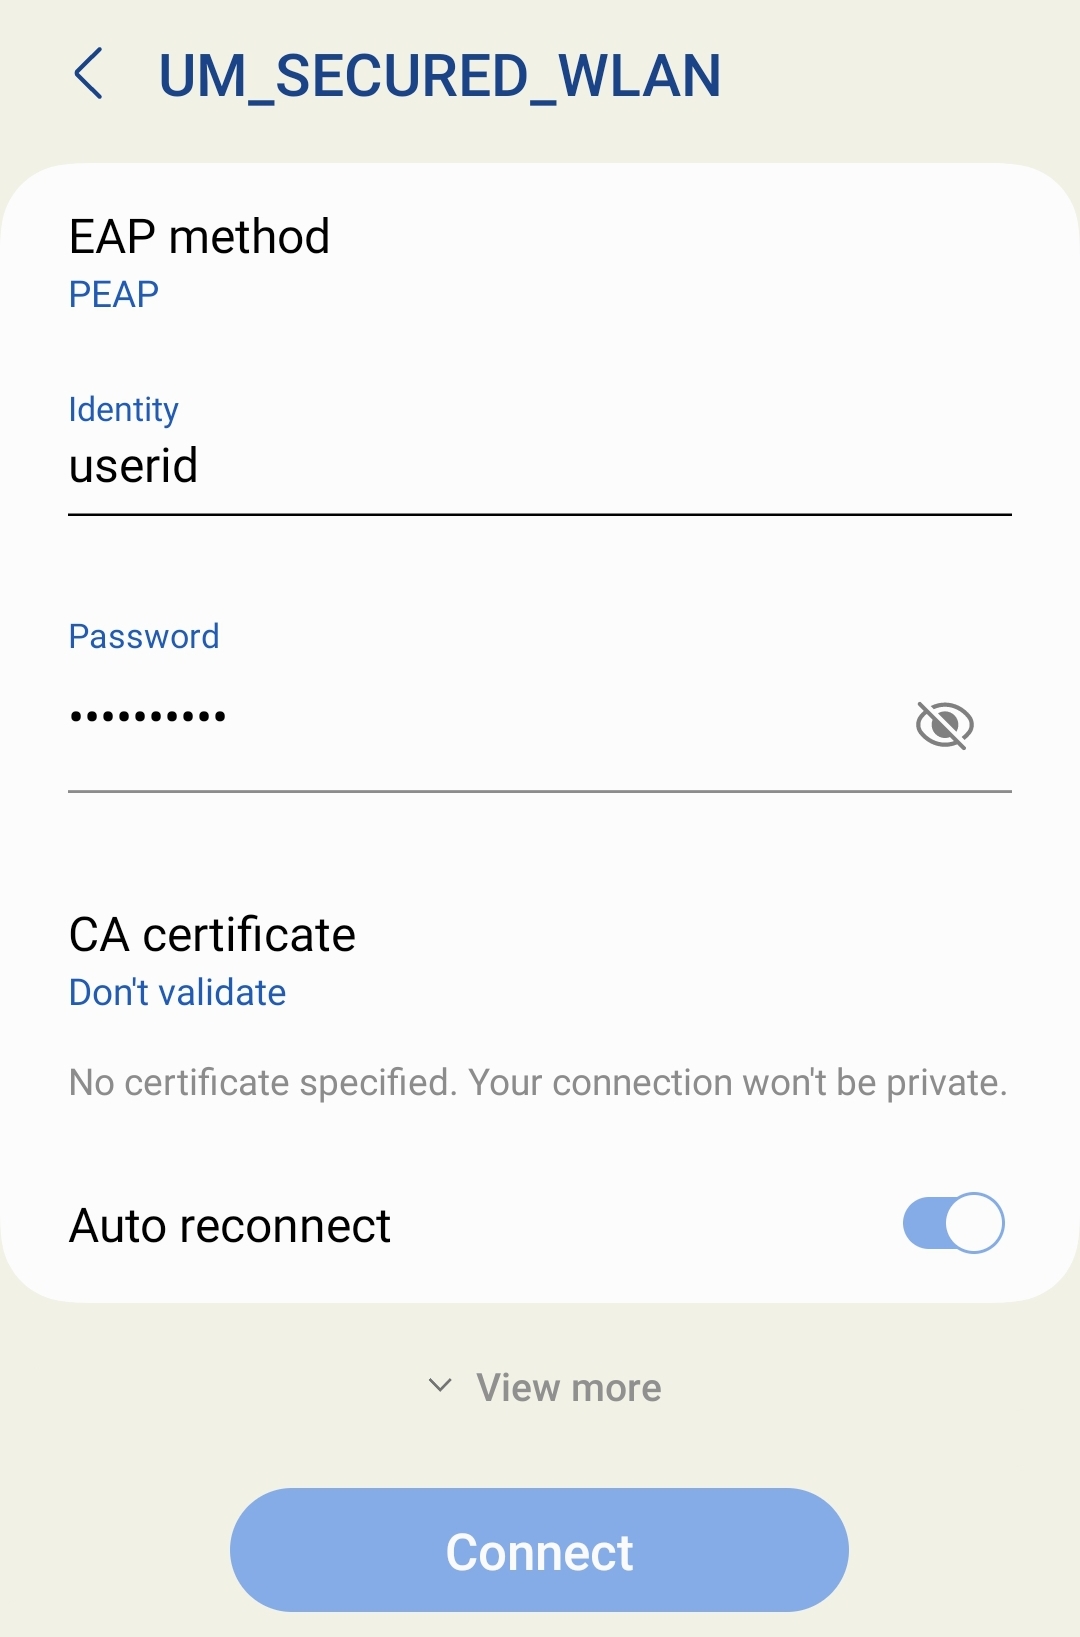
5. Make sure the below selection is correct then click Connect.
| EAP method | PEAP |
| Phase-2 authentication | MSCHAPv2 |
| CA certificate | Do not validate |
| Domain | UM.Wireless.System (if necessary) |
| Identity | UMPASS user id |
| Password | UMPASS password |
If you’re unable to connect to our Wi-Fi network on certain mobile phones, please follow the steps below to download and install the required certificate:
- For Honor and Huawei devices: Settings > WiFi > More WLAN Settings, and click on “Install Certificate.”
- For Samsung devices: Settings > Security and privacy > Other security Settings > Install from device storage, and click on “Wi-Fi Certificate.”
In this interface, please locate the directory where your certificate is stored. Click on the corresponding file and assign it a name. Once you have done that, click “OK” to proceed with the installation.
If you are student, your account name contains only the first seven characters of your student ID, e.g. “ab12345”.
