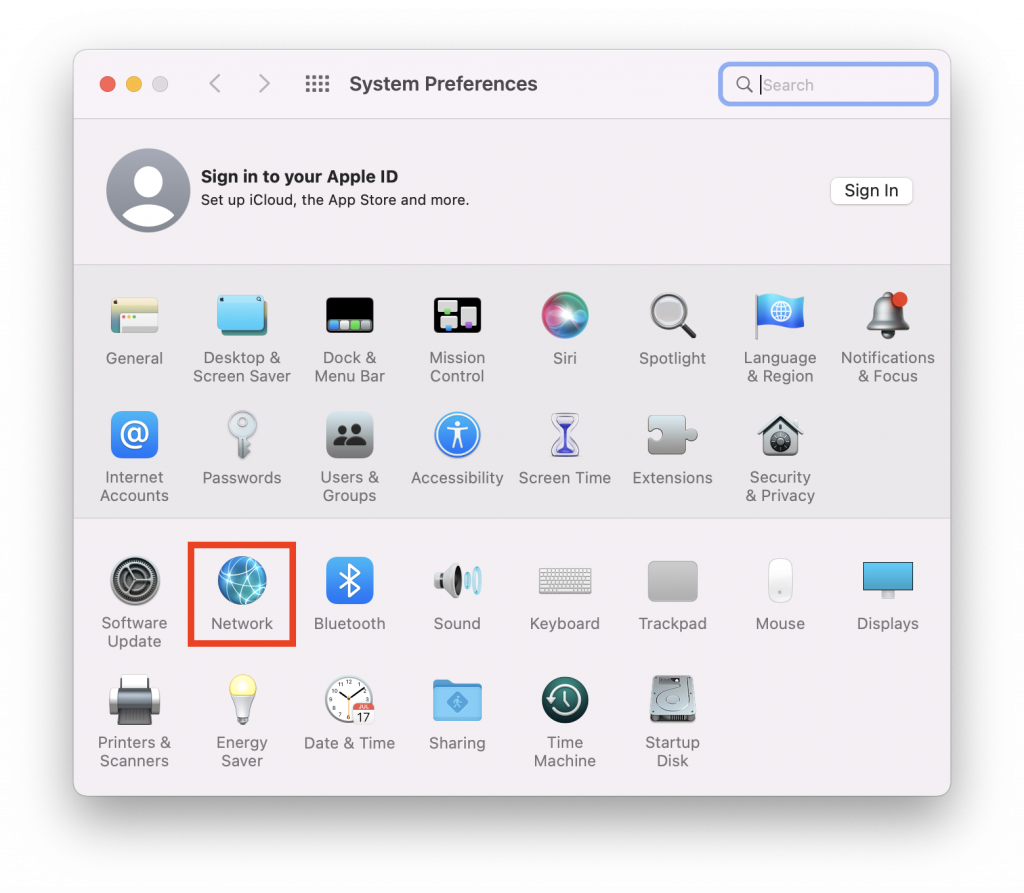
- Open “System Preferences”.

- Open “Network”.
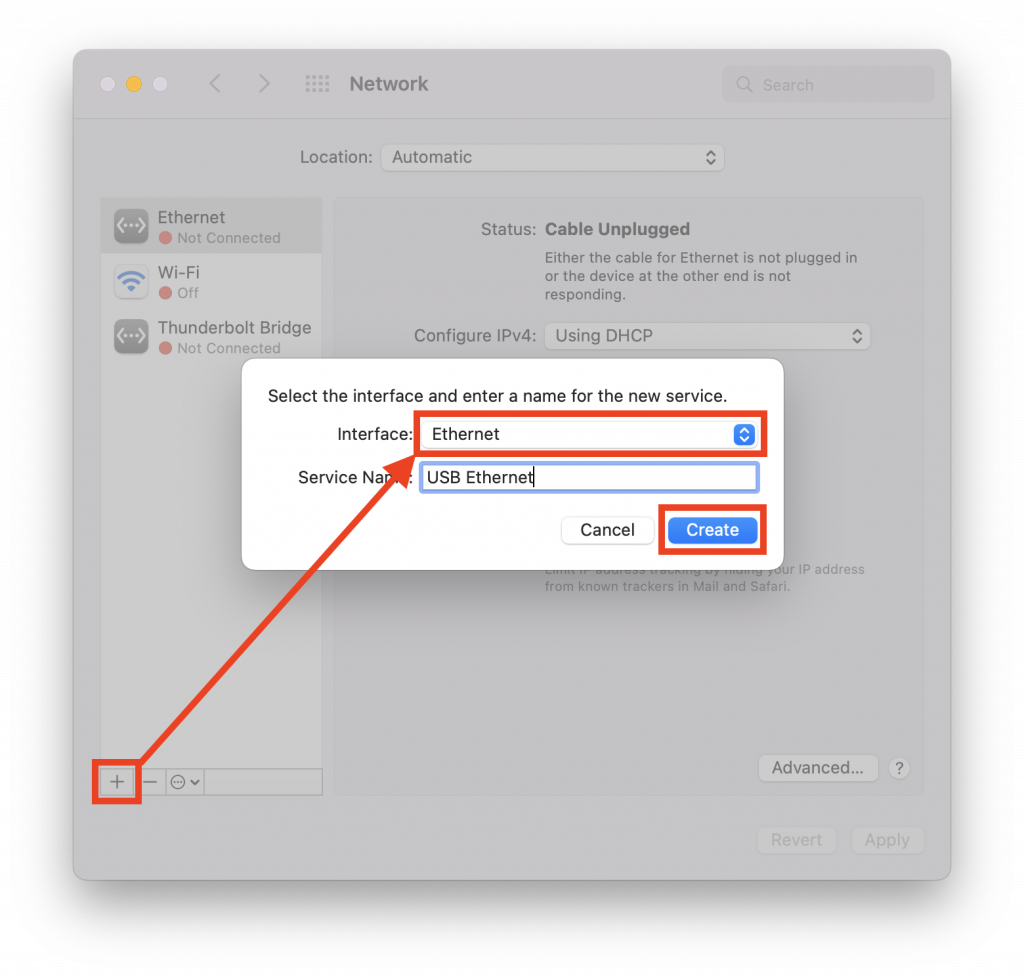
- If you have “Ethernet” or “USB Ethernet” in the left panel, then go to step 4. Otherwise press “+” and create a new service.
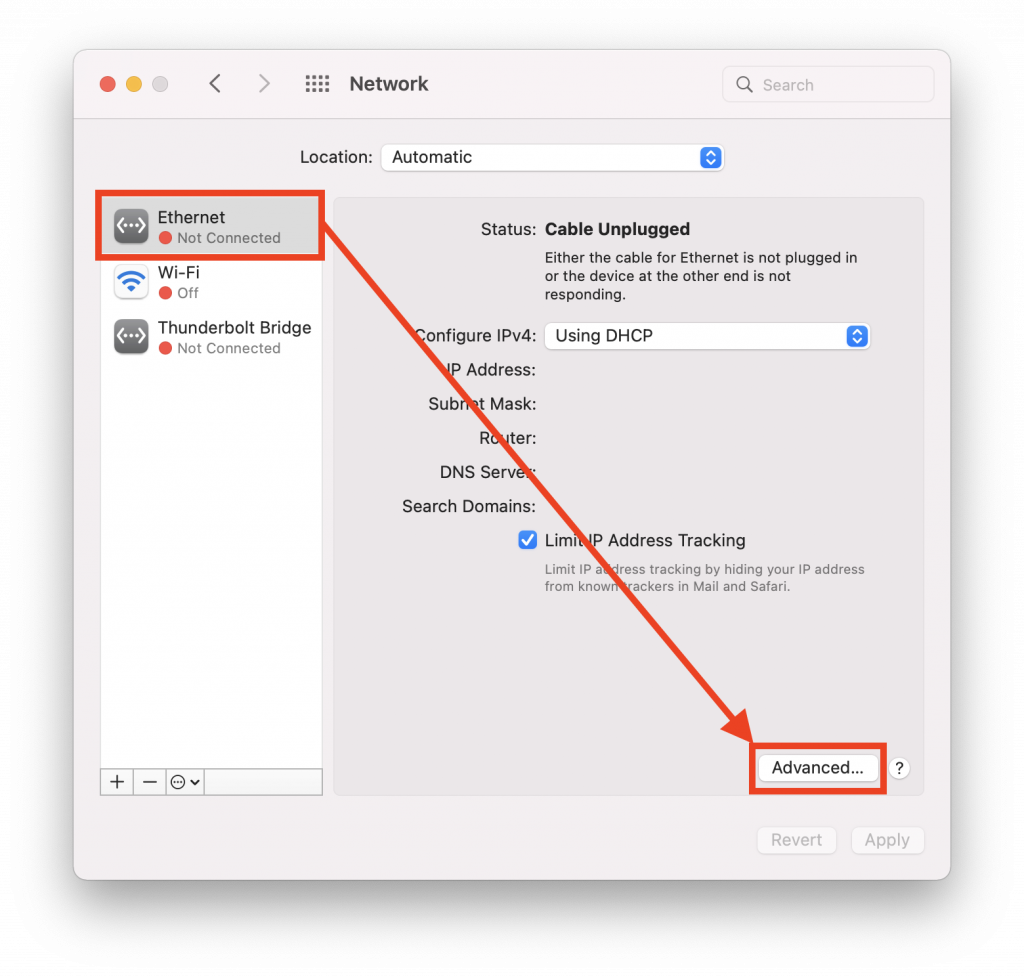
- Choose your Ethernet card and click “Advanced”.
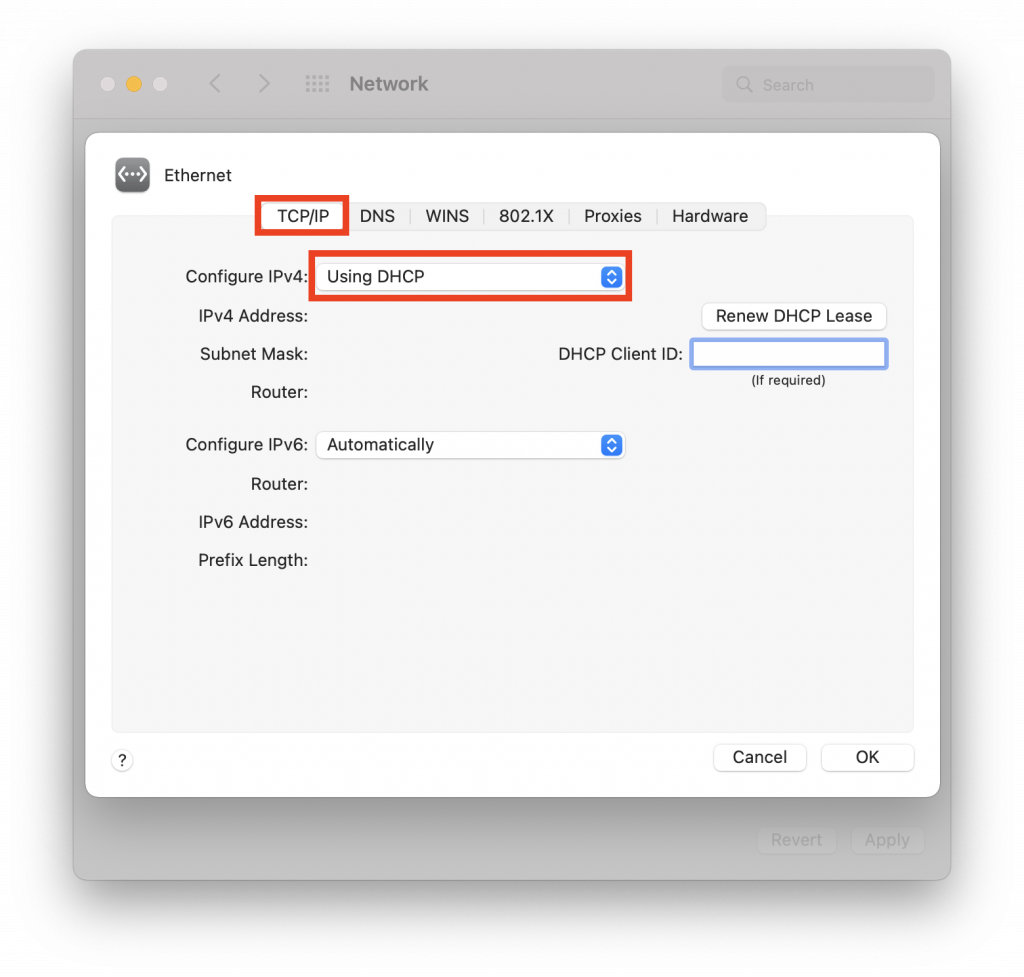
- Choose “TCP / IP” tab and make sure the option “Configure IPv4” is set to “Using DHCP”.
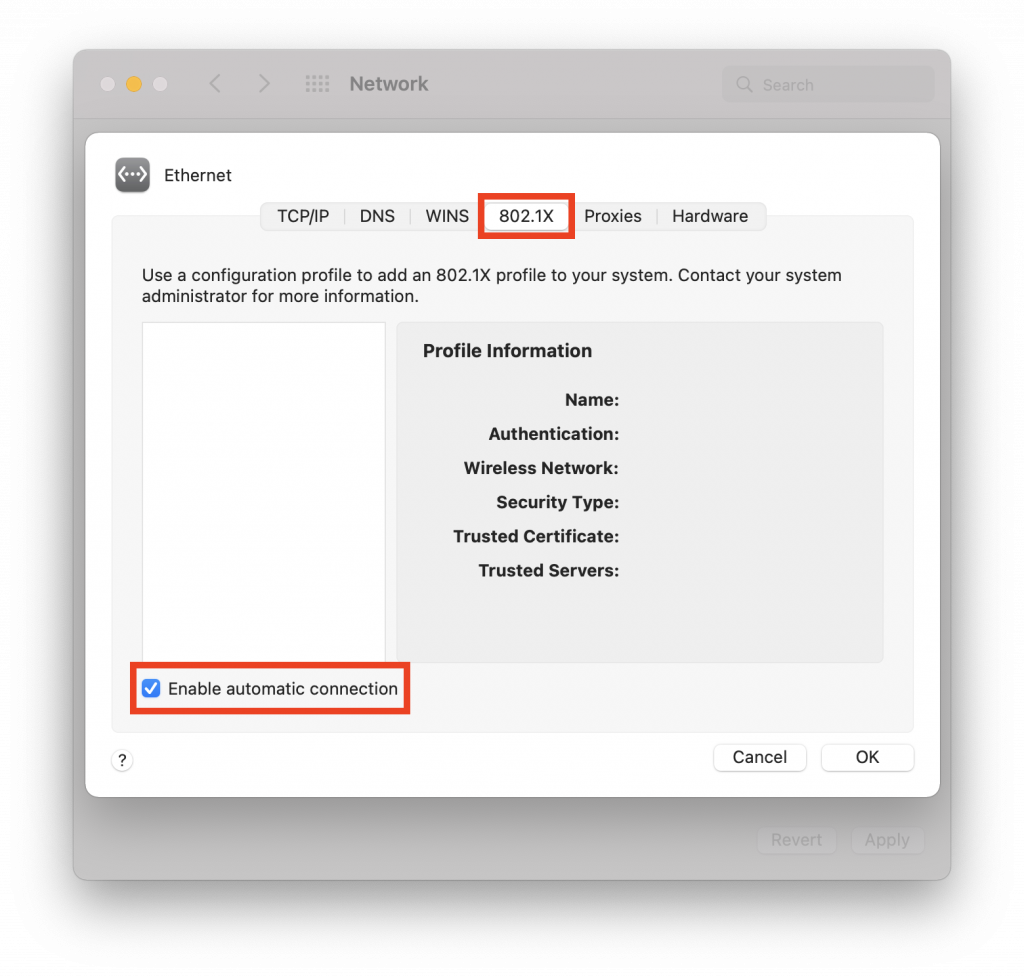
- Choose “802.1X” tab and tick “Enable automatic connection“.
- Plug the network cable and a window will be prompted. Input your UMPASS username and password, and then click “OK” to connect to network.
The password is case sensitive and the user name is in lowercase.If you are student, your user name contains only the first seven characters of your student ID, e.g. “ba12345”