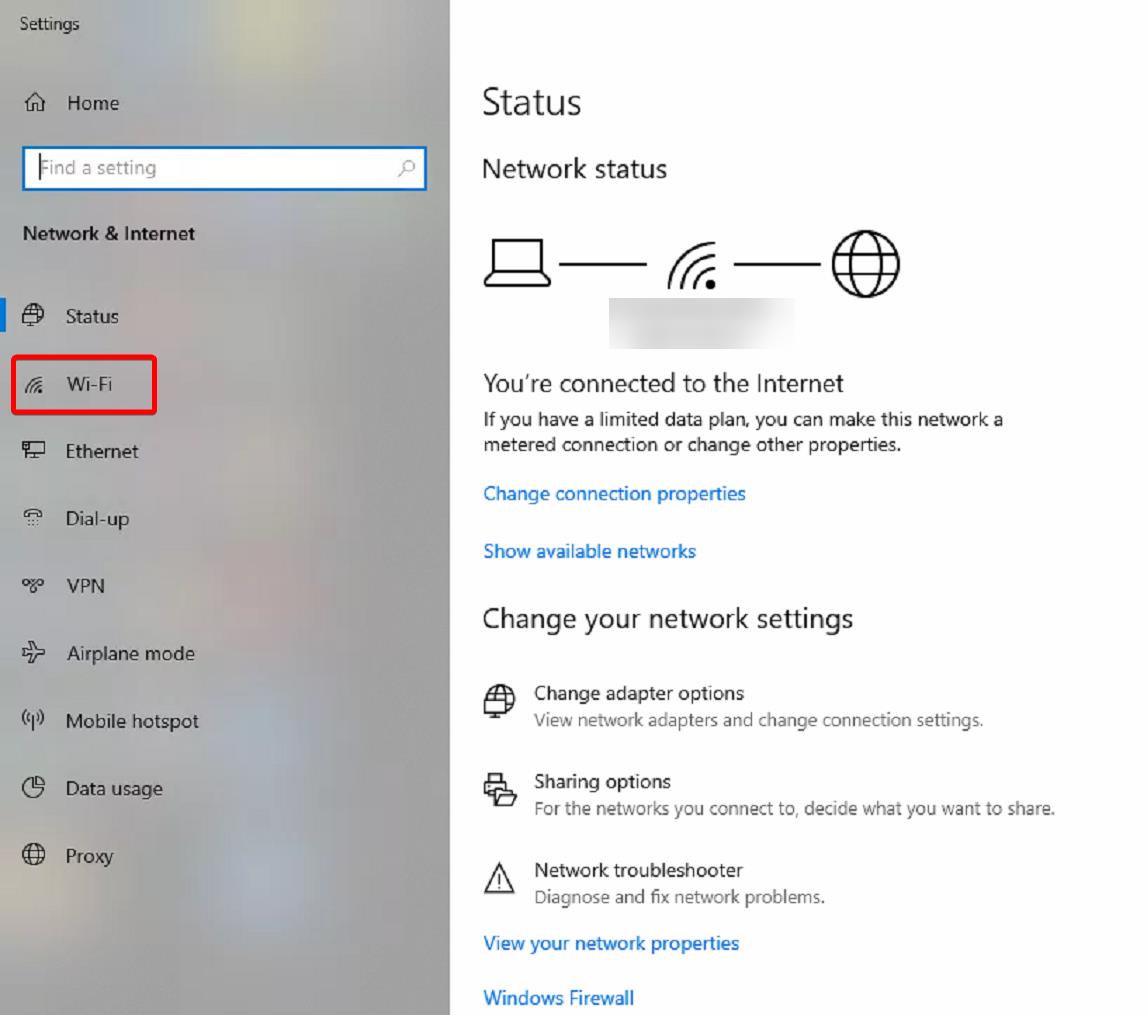
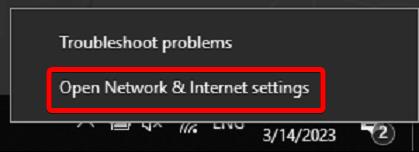
- Right click the “Network and connection” icon and select “Open Network & Internet settings”.

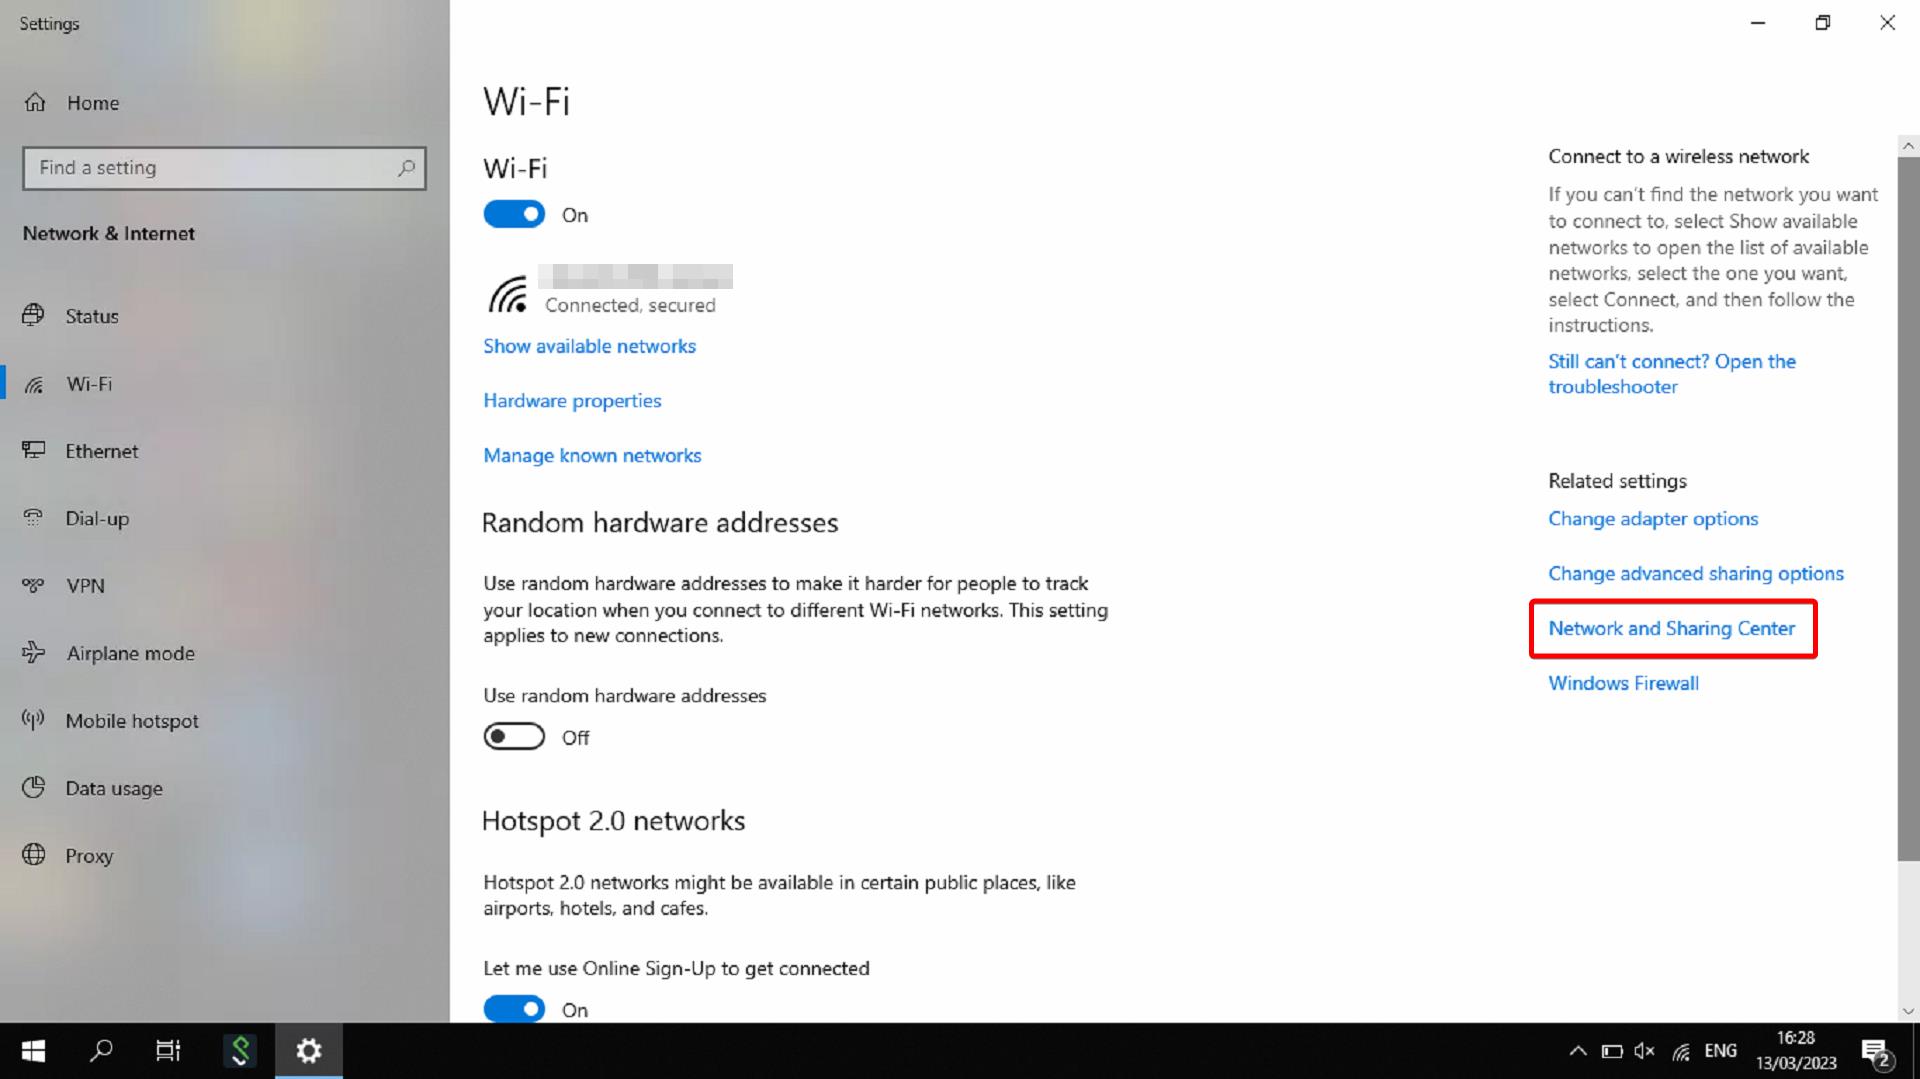
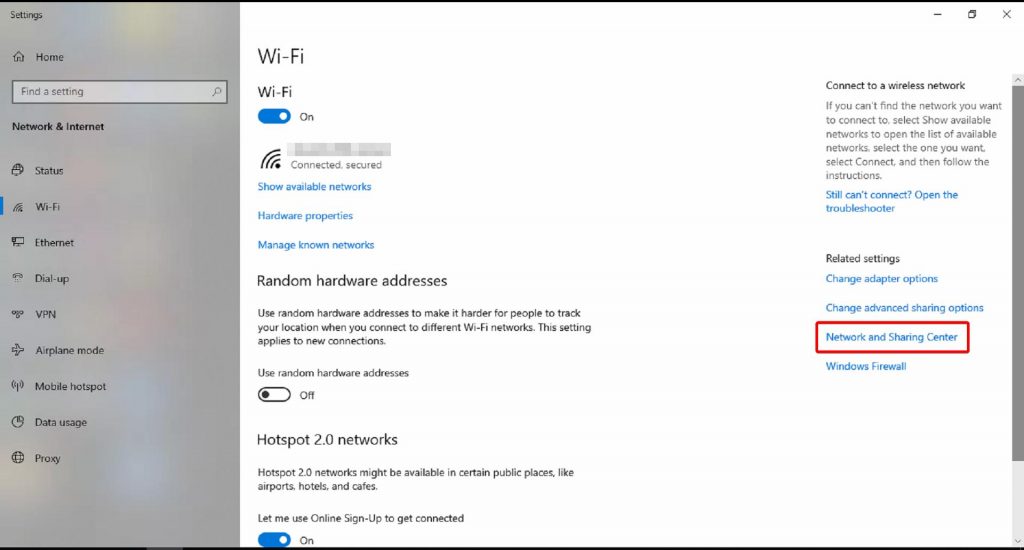
- In Settings, click “Wi-Fi” and select “Network and Sharing Center”.

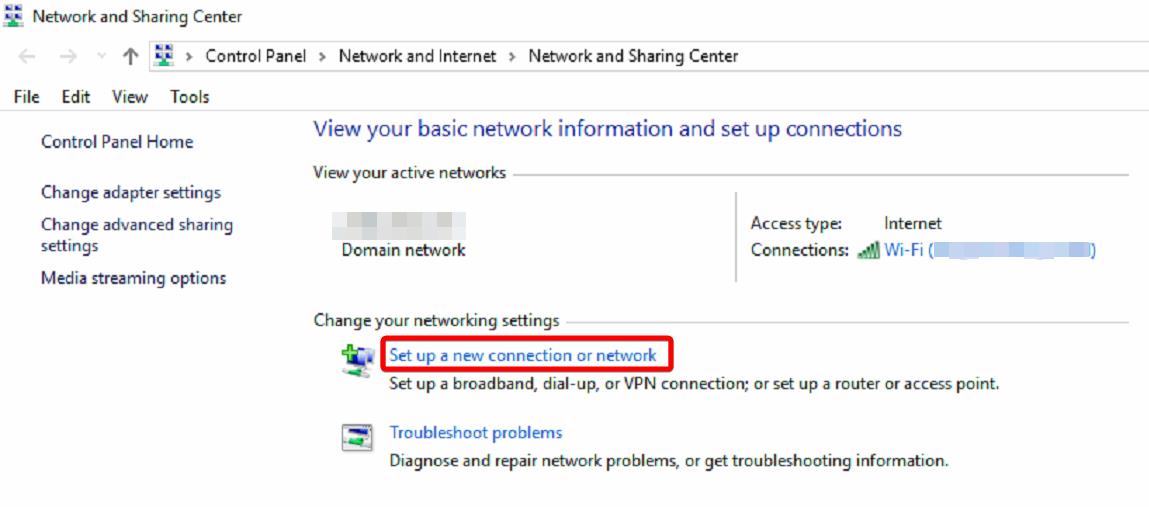
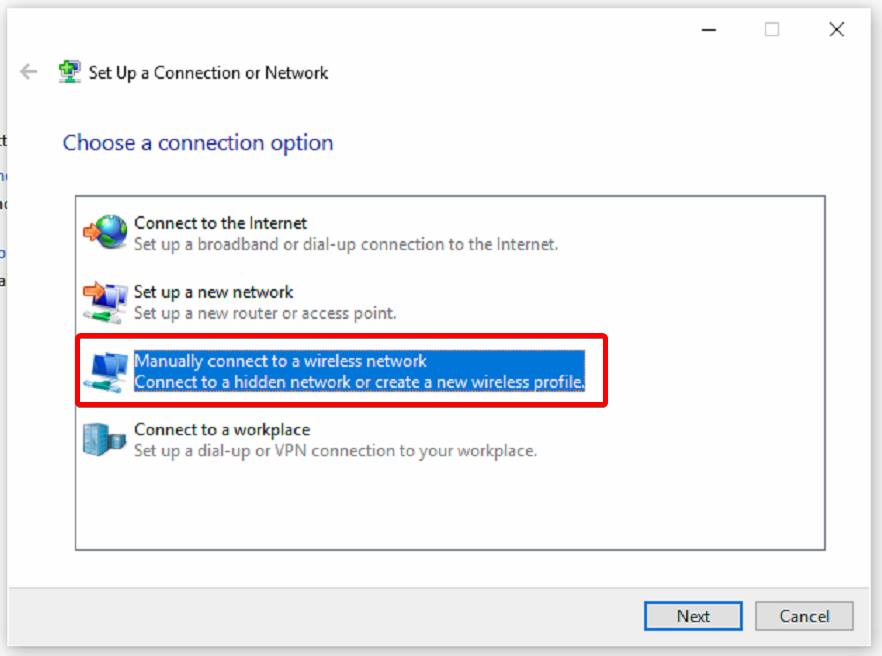
- In the Network and Sharing Center, Select “Set up a new connection or network” to set up one wireless connection.

- Select “Manually connect to a wireless network” to create a wireless network manually.
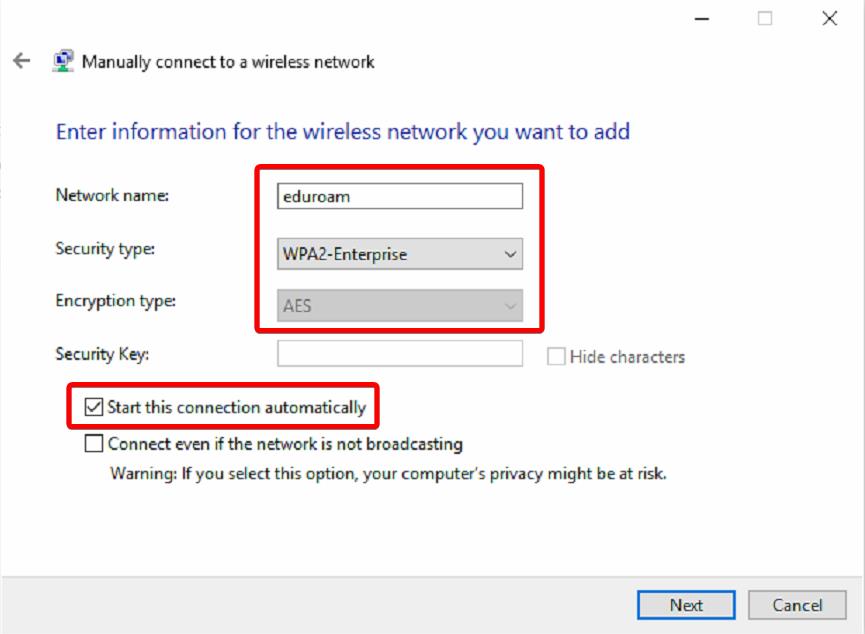
- In the Network Name column input “eduroam” (lowercase), and configure other parameters according to the below figure, then click the “Next” button.
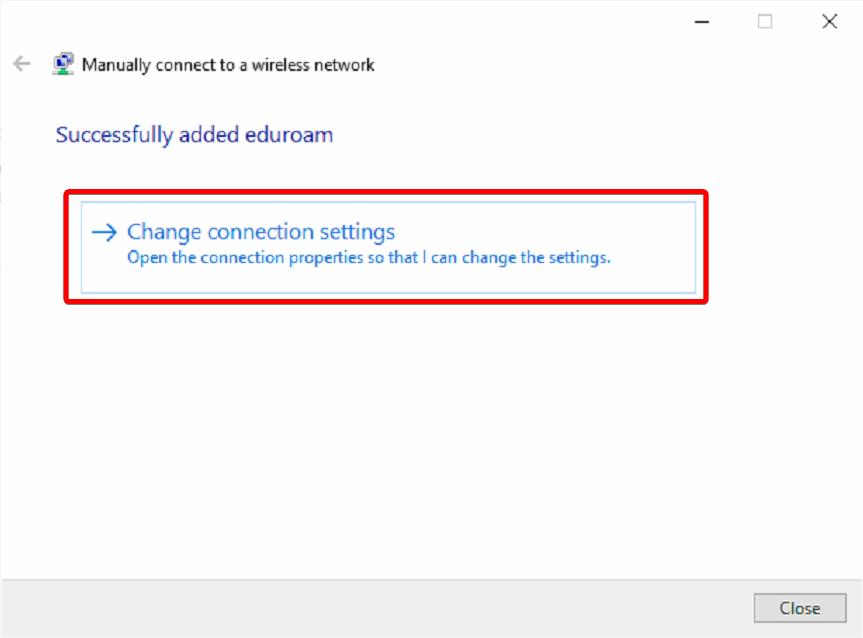
- Click the “Change connection settings” button for next step.
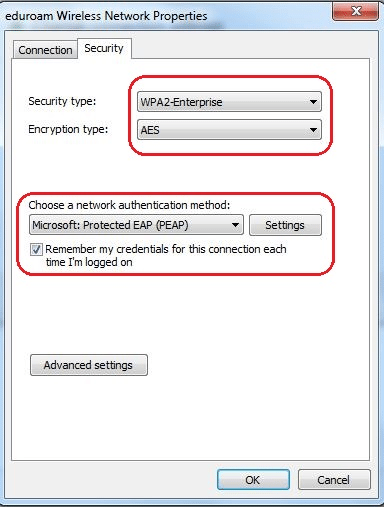
- Select the “Security” tab, configure the settings according to the figure below, and then click the “Settings” button for the next step.
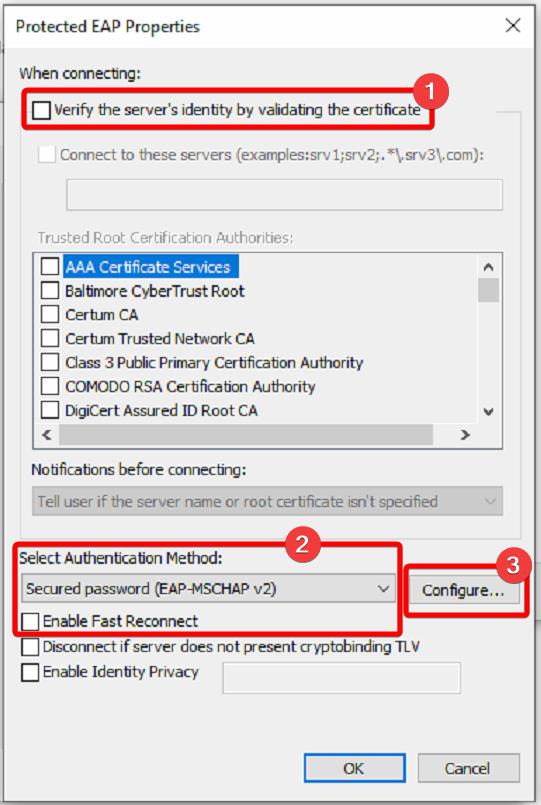
- Deselect “Verify the server’s identity by validating the certificate” and “Enable Fast Reconnect”. Click “Configure”.
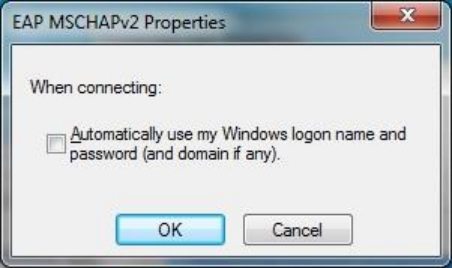
- Deselect “Automatically use my Windows logon name and password”, then click “OK”.
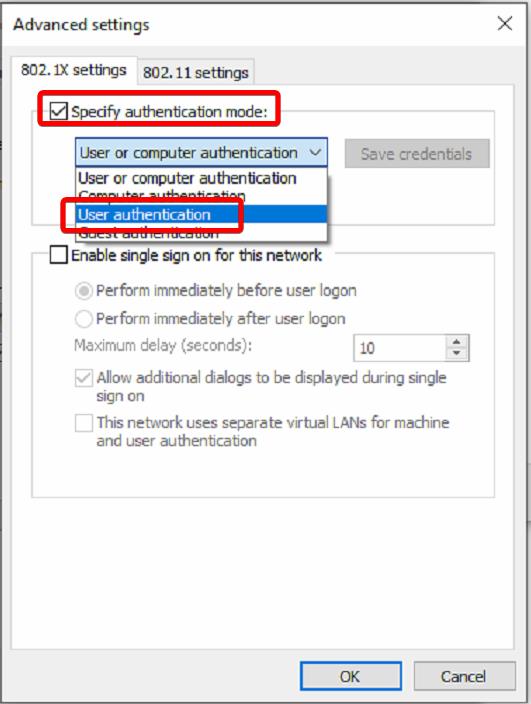
- The system will return to the wireless network properties form. Choose “Advanced settings”.

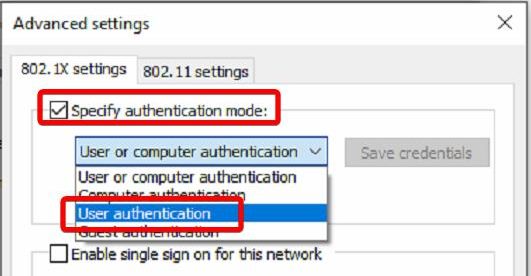
- In the “802.1X settings” tab, check “Specify authentication mode” and select “User authentication”.
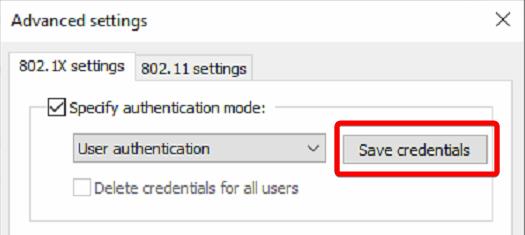
- Click “Save credentials”.
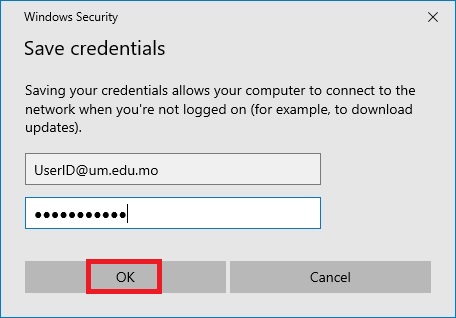
- Enter your UMPASS account ID (e.g. UserID@um.edu.mo) and password. Then press “OK” button to save it and press “OK” button on all tabs and windows to close them.
Tips: You must input the login ID with “@um.edu.mo” for eduroam login.
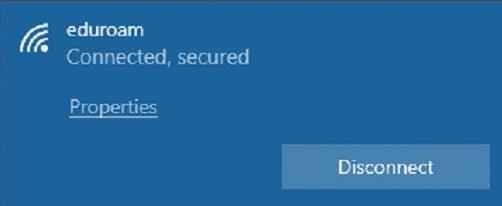
- Click the “Network and connection” icon, find the “eduroam” network and then click the “Connect” button for WiFi connection.

- After a few seconds, your computer will be connected to eduroam network.