
Step-by-step tutorial
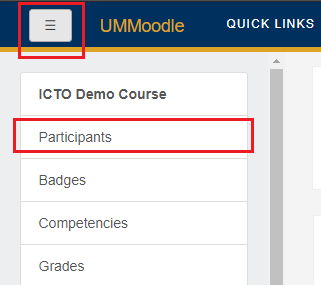
- Click “Participants” under the Navigation Drawer.

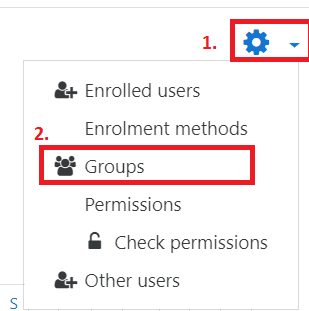
- Click “Groups” on the top right menu.
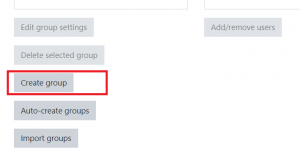
- Click the “Create group” button.
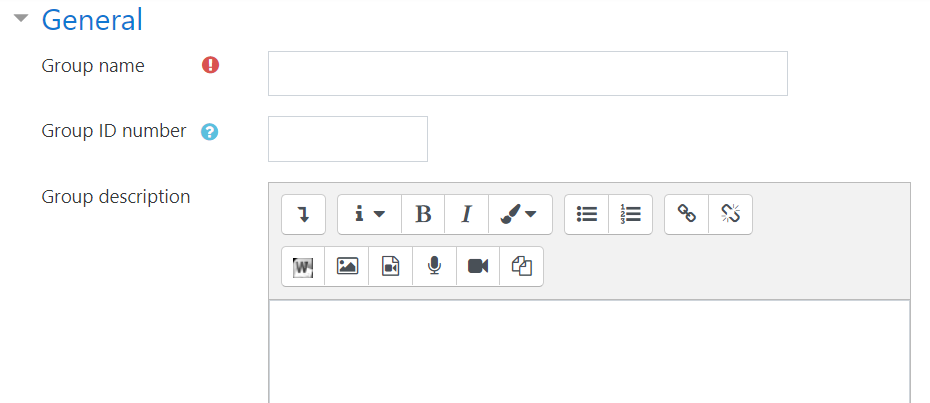
- Enter a name for the group in the “Group name” field, and click “Save changes” to create the group.

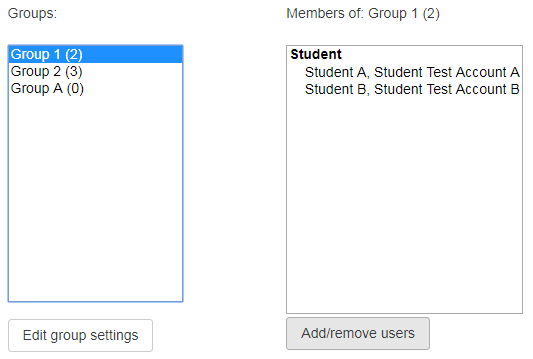
- Once you have created a group, you will see the group name listed under Groups. To see the current membership of a group, click the “group name” to highlight it, then you will see the names displayed on the right under Members of. To edit the members of an existing group, highlight the name of the group you wish to edit, then click “Add/remove users”.
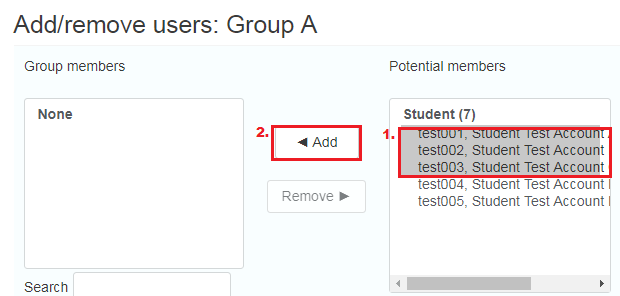
- Once you’ve selected the names you want to add, click the “Add” button to move students into the group.

Video tutorial
As UMMoodle has been upgraded, the operations in this video may not be applicable to the current version and the steps shown in the above section shall prevail.
( If your browser cannot play this video properly, please click the below button to play. )
![]()