
Video tutorial
( If your browser cannot play this video properly, please click the below button to play. )
Step-by-step tutorial
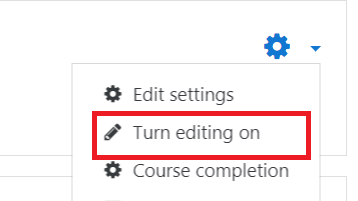
- Enter the course and then click “Turn editing on” on the top right menu.
- In the course outline, choose a Week/Topic and click “Add an activity or resource” button.

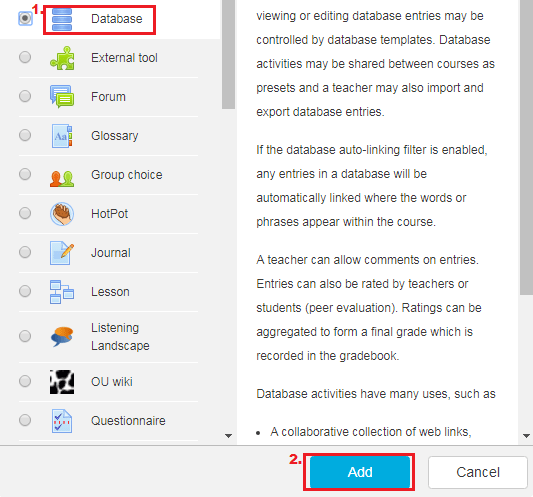
- Select “Database” on the left menu, and click the “Add” button.
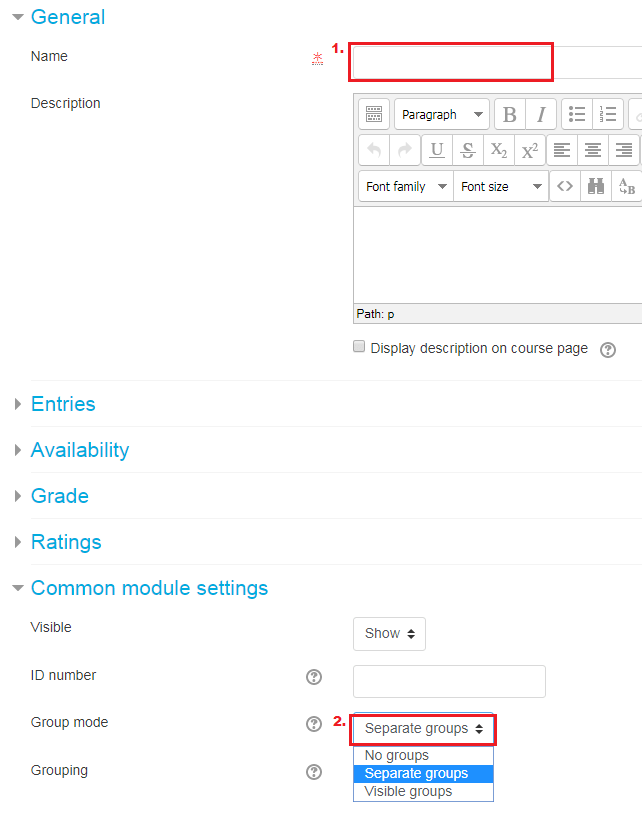
- Input the “Name” of the database activity and choose the “Group mode” as “Separate Group”. Finally, click on the “Save and display” button.
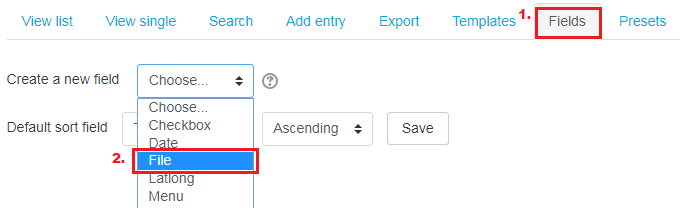
- Go to the tab “Fields” and choose the type “File” for creating a new field.
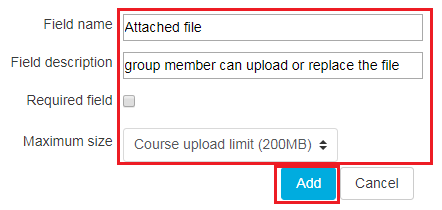
 Input the “Field name”, “Field description” and select the “Maximum size” of this field, click “Add”.
- Go to the tab “Templates” > “List template”, design your template and then click “Save template”.
