Steps to Launch RStudio
Open web browser and navigate to Open OnDemand URL (https://login2.coral.um.edu.mo/).
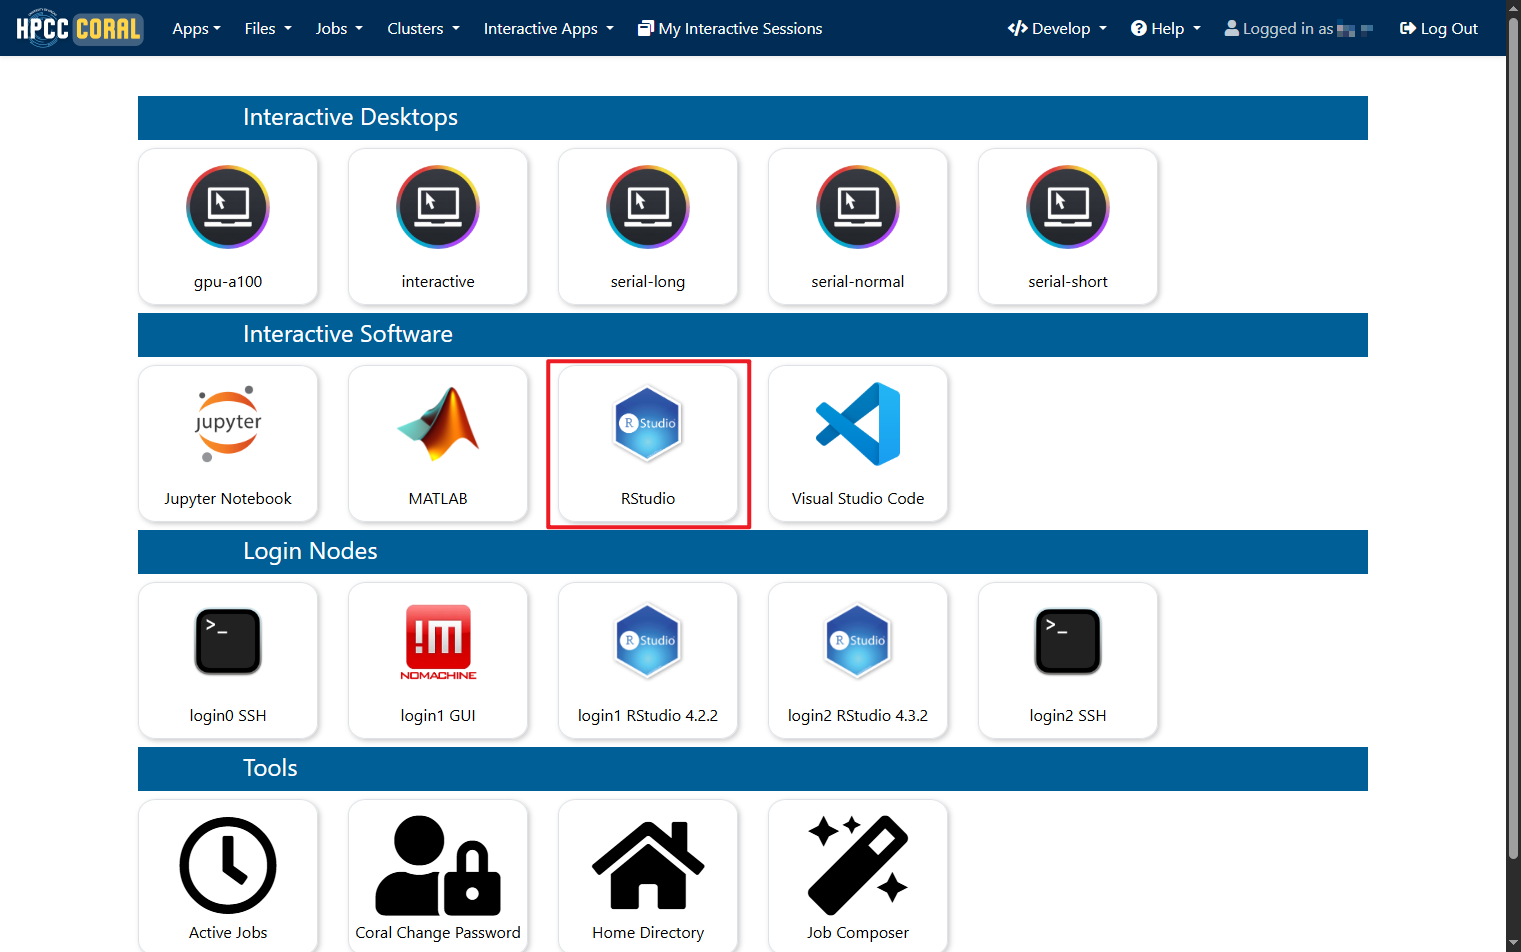
From the dashboard menu, select Interactive Software > RStudio.
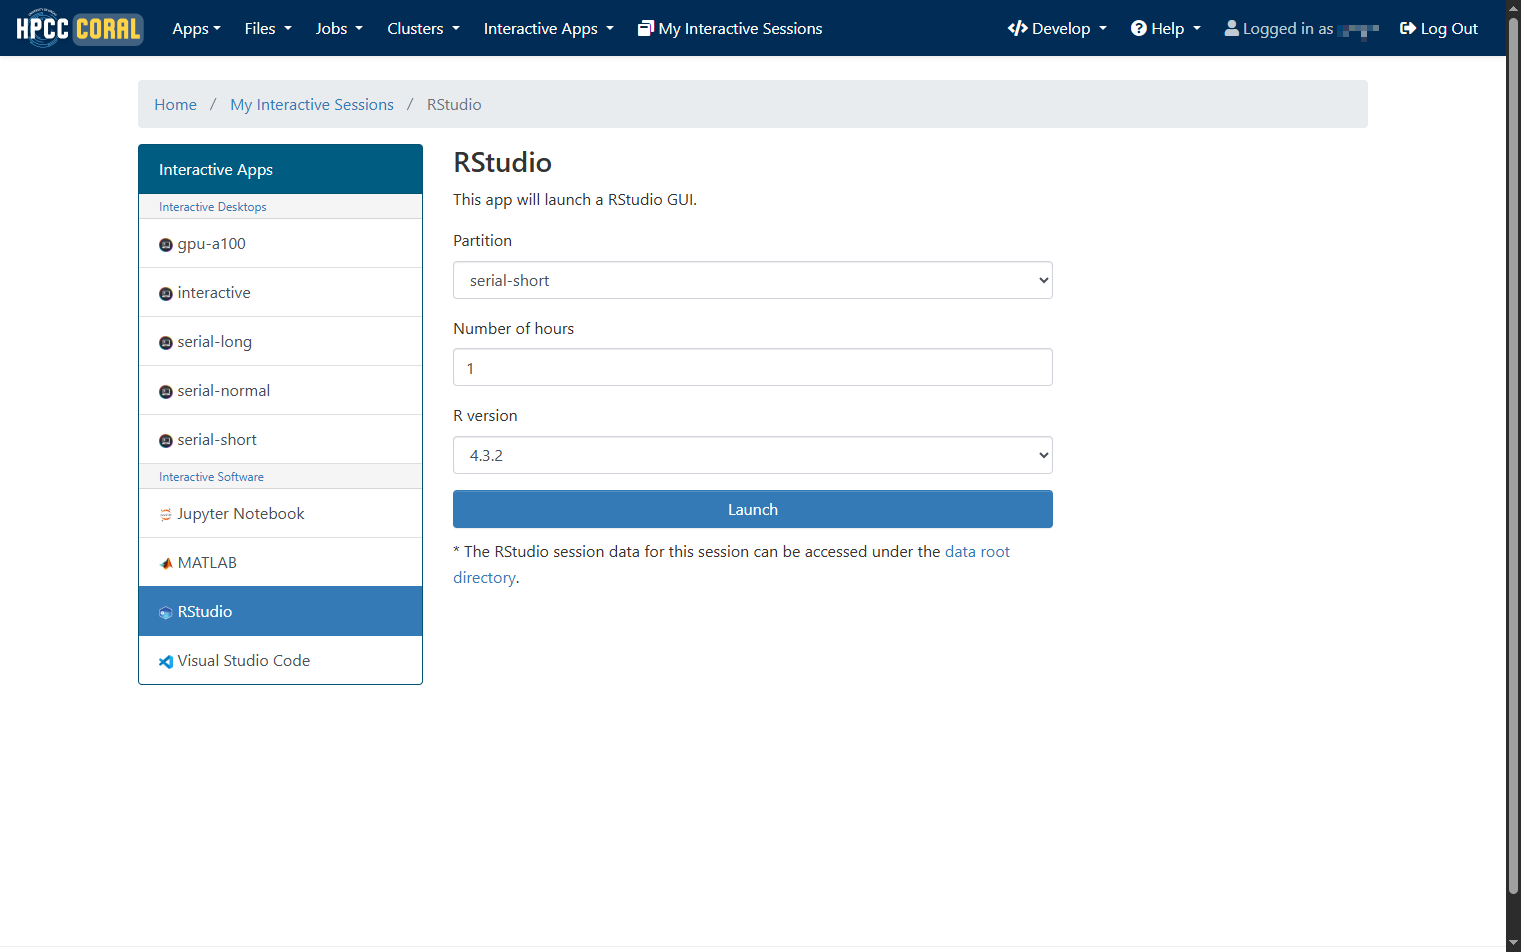
Configure the Session. A form will appear to specify the resources for your RStudio session:
- Select an partition (e.g., serial-short, serial-normal, or serial-long, etc…). Refer to FAQ for partition details.
- Specify the duration of your session (e.g., 1 hours). Note that resources usage will be counted until the session is terminated or the time limit is reached.
- Select the desired R version (e.g., 4.3.2) .
Click Launch to submit the job to the scheduler SLURM.
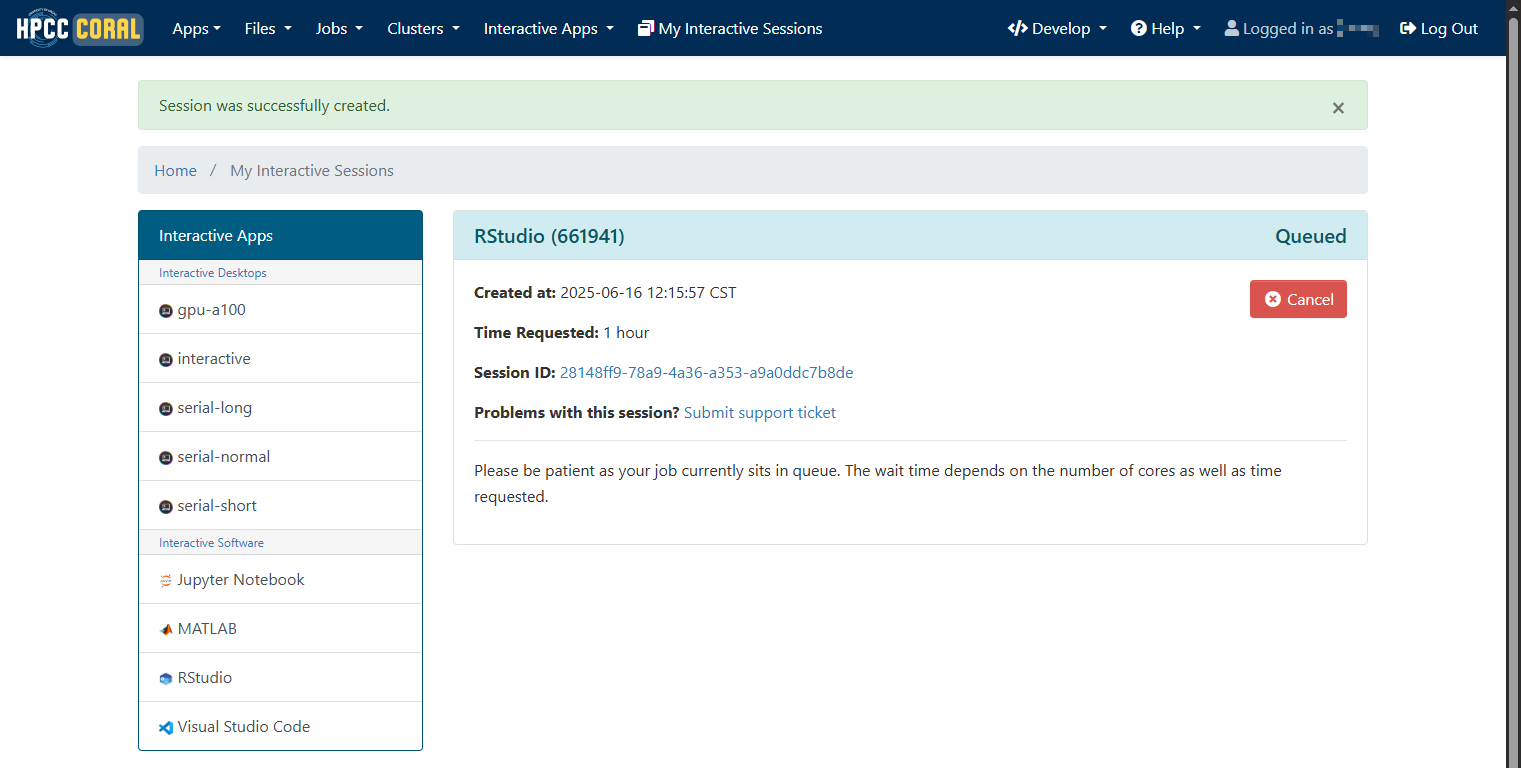
Wait for Resource Allocation: The job will enter a queue. Wait times depend on the requested resources.
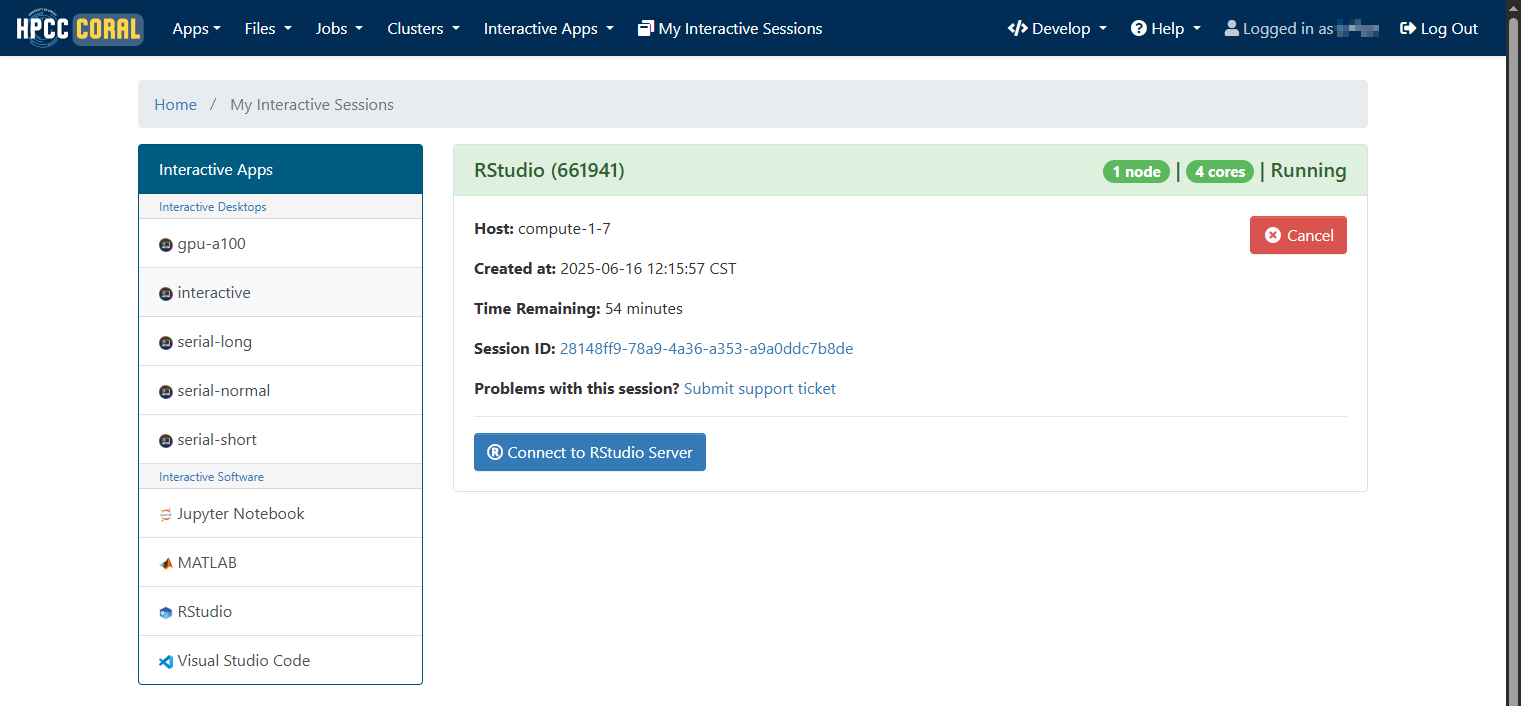
Once resources are allocated, a Connect to RStudio Server button will appear in the My Interactive Sessions tab. Click Connect.
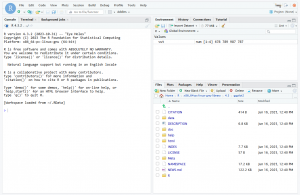
Using RStudio Server
Using RStudio Server with the following key components:
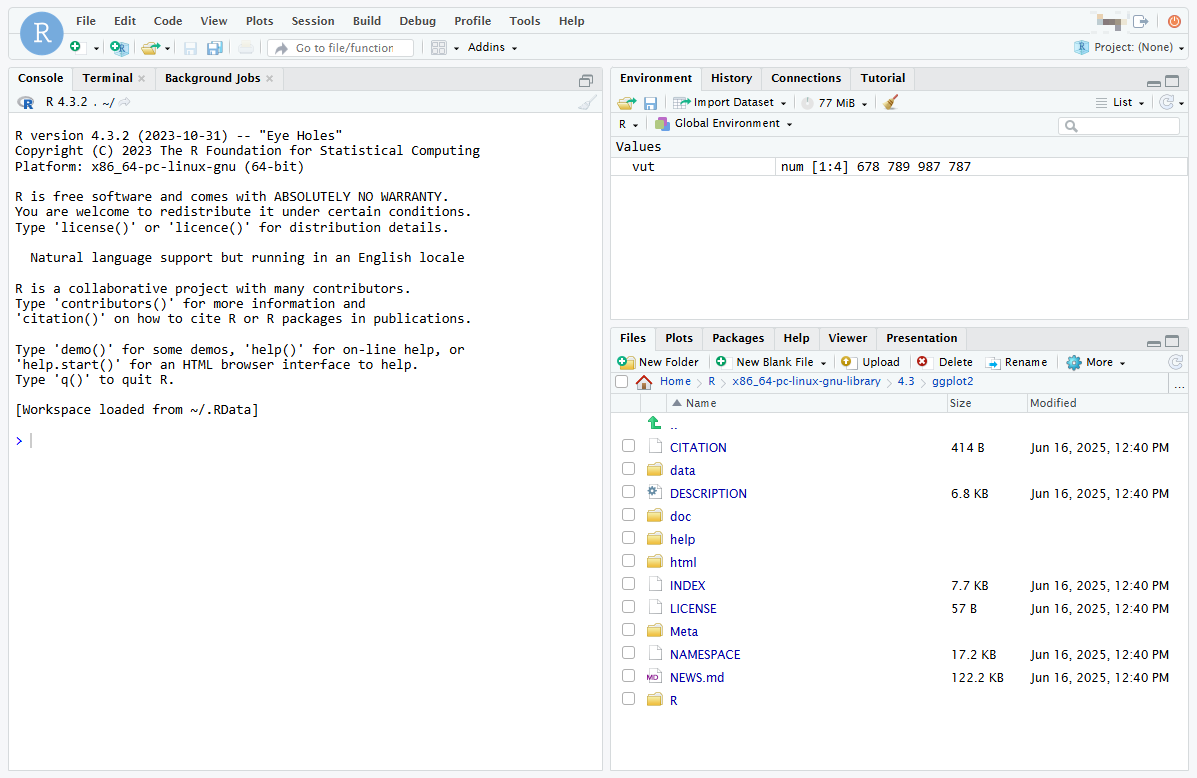
- Interface: Use the console for commands, source editor for scripts, environment pane for objects, and plots pane for visualizations.
- Features: Run R/Python code, install packages with install.packages(), create RMarkdown documents.
- Best Practices: Save work often, match resources to tasks, and use /scratch for large files to avoid performance issues.
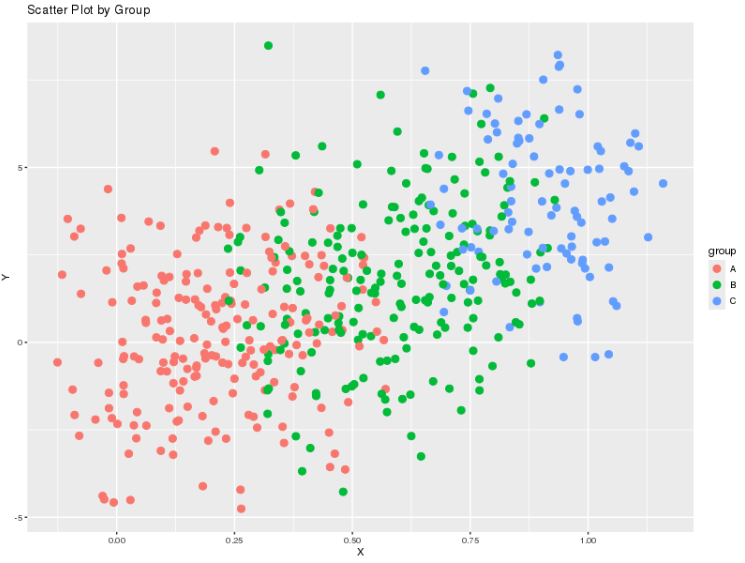
Example
Create a Scatter plot in ggplot2 :
- In the Source Editor, click File > New File > R Script.
- Paste and highlight the code, and click Run.
- The code integrate the Cairo graphics device to save the scatter plot while preserving the data simulation and ggplot2 plotting logic.
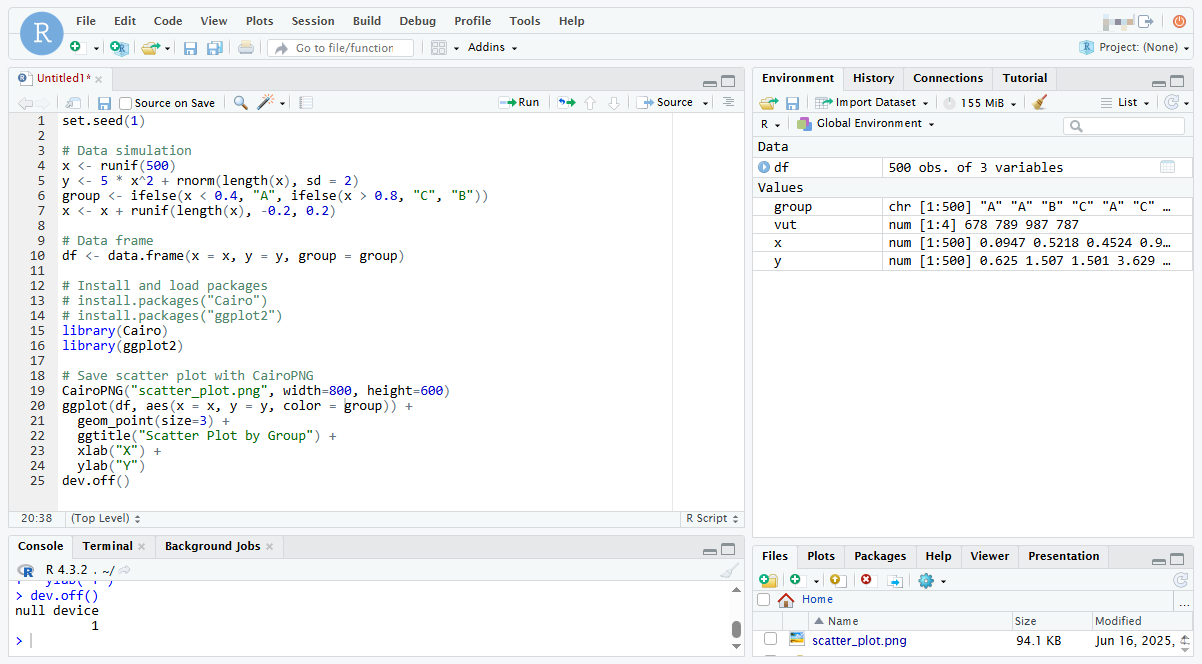
It saving the plot as a PNG file (scatter_plot.png) using Cairo.
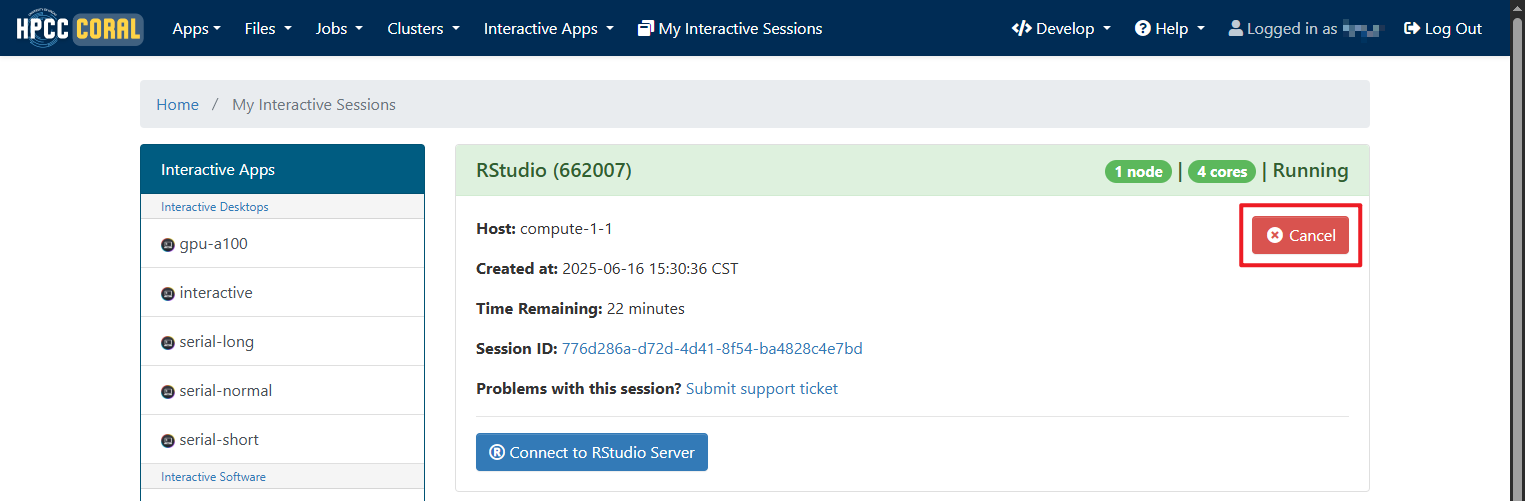
Terminating the Session
Save work, select File > Quit Session in RStudio.
Go to My Interactive Sessions, click Delete next to your session.