
What is Language Switcher?
A language switcher likes a trigger that allow website visitors to switch the content of the website in different language. With WPML, language switcher can be easily created and allocated to different locations.
How to create language switcher?
Go to WPML -> Languages. Scroll down and you can see Menu language switcher, Widget language switcher and Footer language switcher.
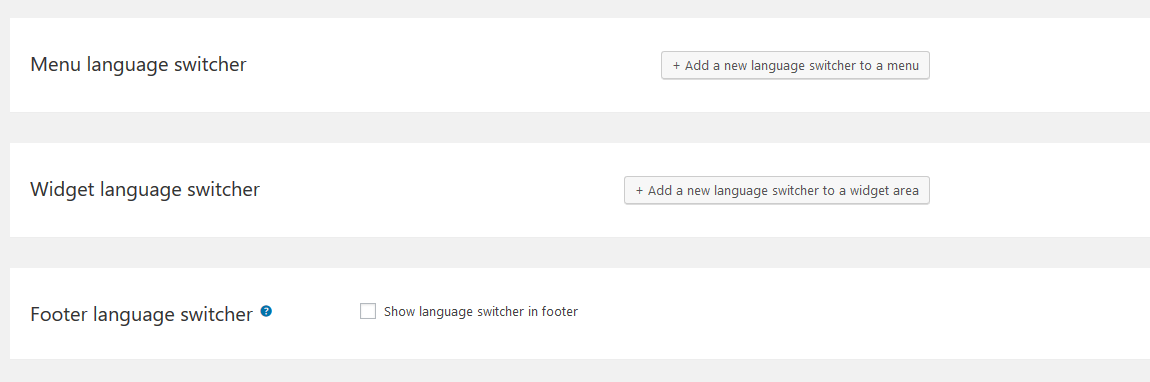
If you want to place the language switcher on the menu, press the button “Add a new language switcher to a menu“.
If you want to place the language switcher inside some pages/posts, you can use widget language switcher, press the button “Add a new language switcher to a widget area“.
For menu language switcher
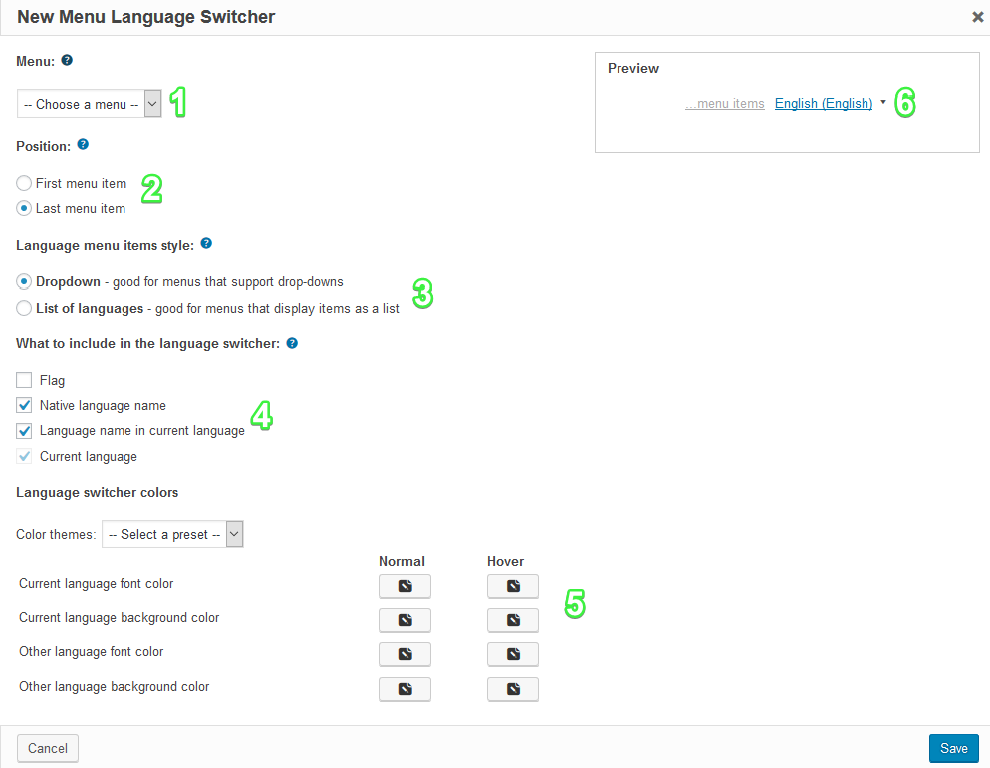
- Choose the menu where you want the language switcher to be.
- The position of the language switcher on the menu. Two options: first / last
- The display style of the language switcher. Two options: dropdown / list
- Information display on the language switcher. You can choose to include flag or decide whether to show the current language or not etc.
- Color setting of the language switcher.
- Show the preview of your language switcher settings.
Lastly, remember to press the “Save” button to create the language switcher.
For widget language switcher

- Choose the widget area where you want the language switcher to be.
- The display style of the language switcher. Two options: dropdown / list
- Information display on the language switcher. You can choose to include flag or decide whether to show the current language or not etc.
- The title display on the widget.
- Color setting of the language switcher.
- Show the preview of your language switcher settings.
Lastly, remember to press the “Save” button to create the language switcher.