
Prerequisites
- T&L Account is required to use the automatic audio transcription
Enable auto transcript:
- Sign in to the Zoom web portal (https://umac.zoom.us)
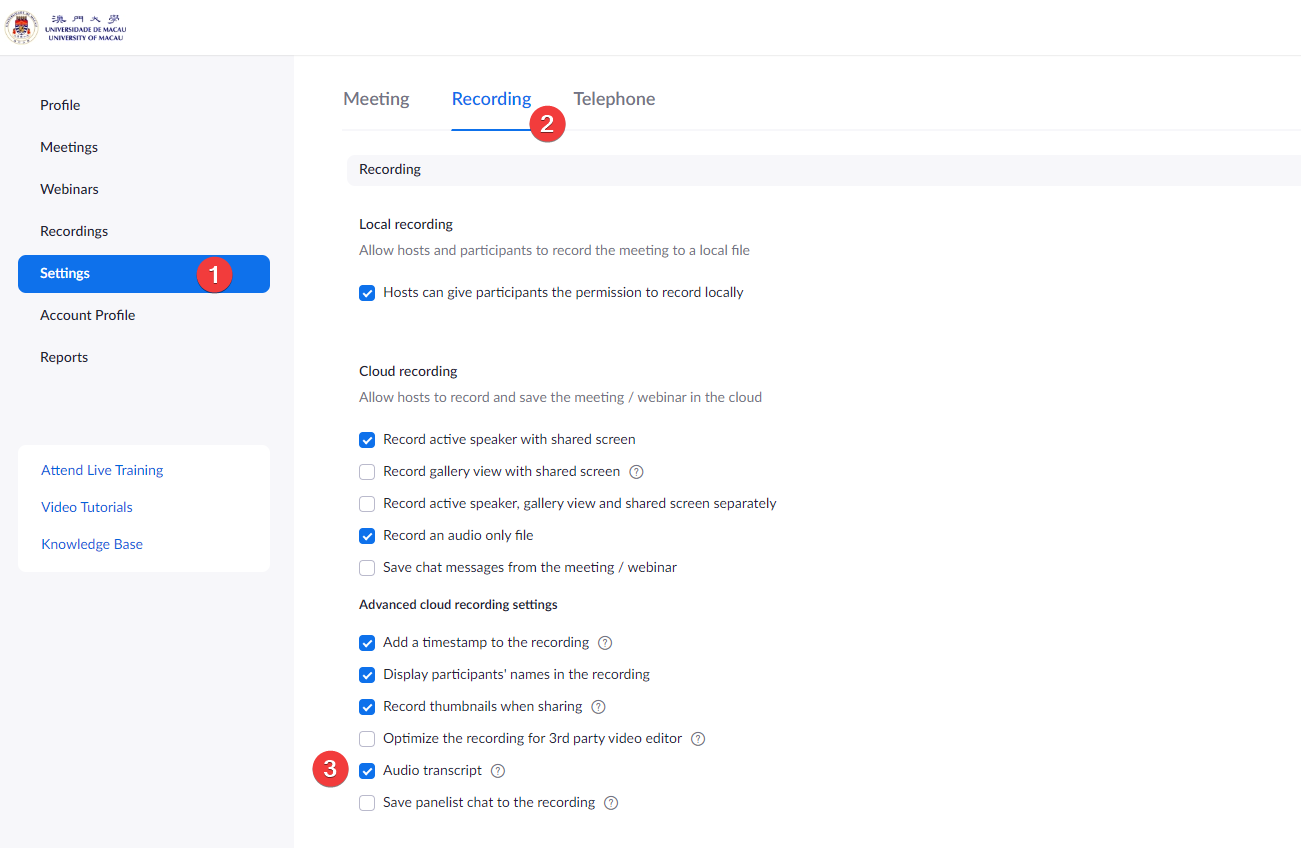
- In the navigation menu, click Settings.
- Navigate to the Cloud recording option on the Recording tab and verify that the setting is enabled.
Notes:- If the setting is disabled, click the Status toggle to enable it. If a verification dialog displays, choose Turn On to verify the change.
- In the Advanced cloud recording settings, click the Audio transcript checkbox to enable it, then click Save to confirm the change.
Generate automatic transcript for your recordings:
- Start a meeting.
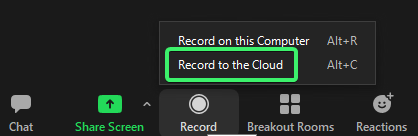
- Click the Record button and choose Record to the Cloud.
- After the meeting ends, you will receive an email that lets you know that your cloud recording is available. A short time later, you also receive a separate email letting you know that the audio transcript for the recording is available. These emails include links to view your recordings and transcript.
- Click the link in the email OR navigate to the My Recordings page on the Zoom web portal and click the name of the recorded meeting.
- Navigate to the Audio Transcript panel on the right and click the pencil icon next to the phrase you want to edit.

- Make any changes to the text, then click Save.
The updated version of the text is displayed when you play the audio or video file.